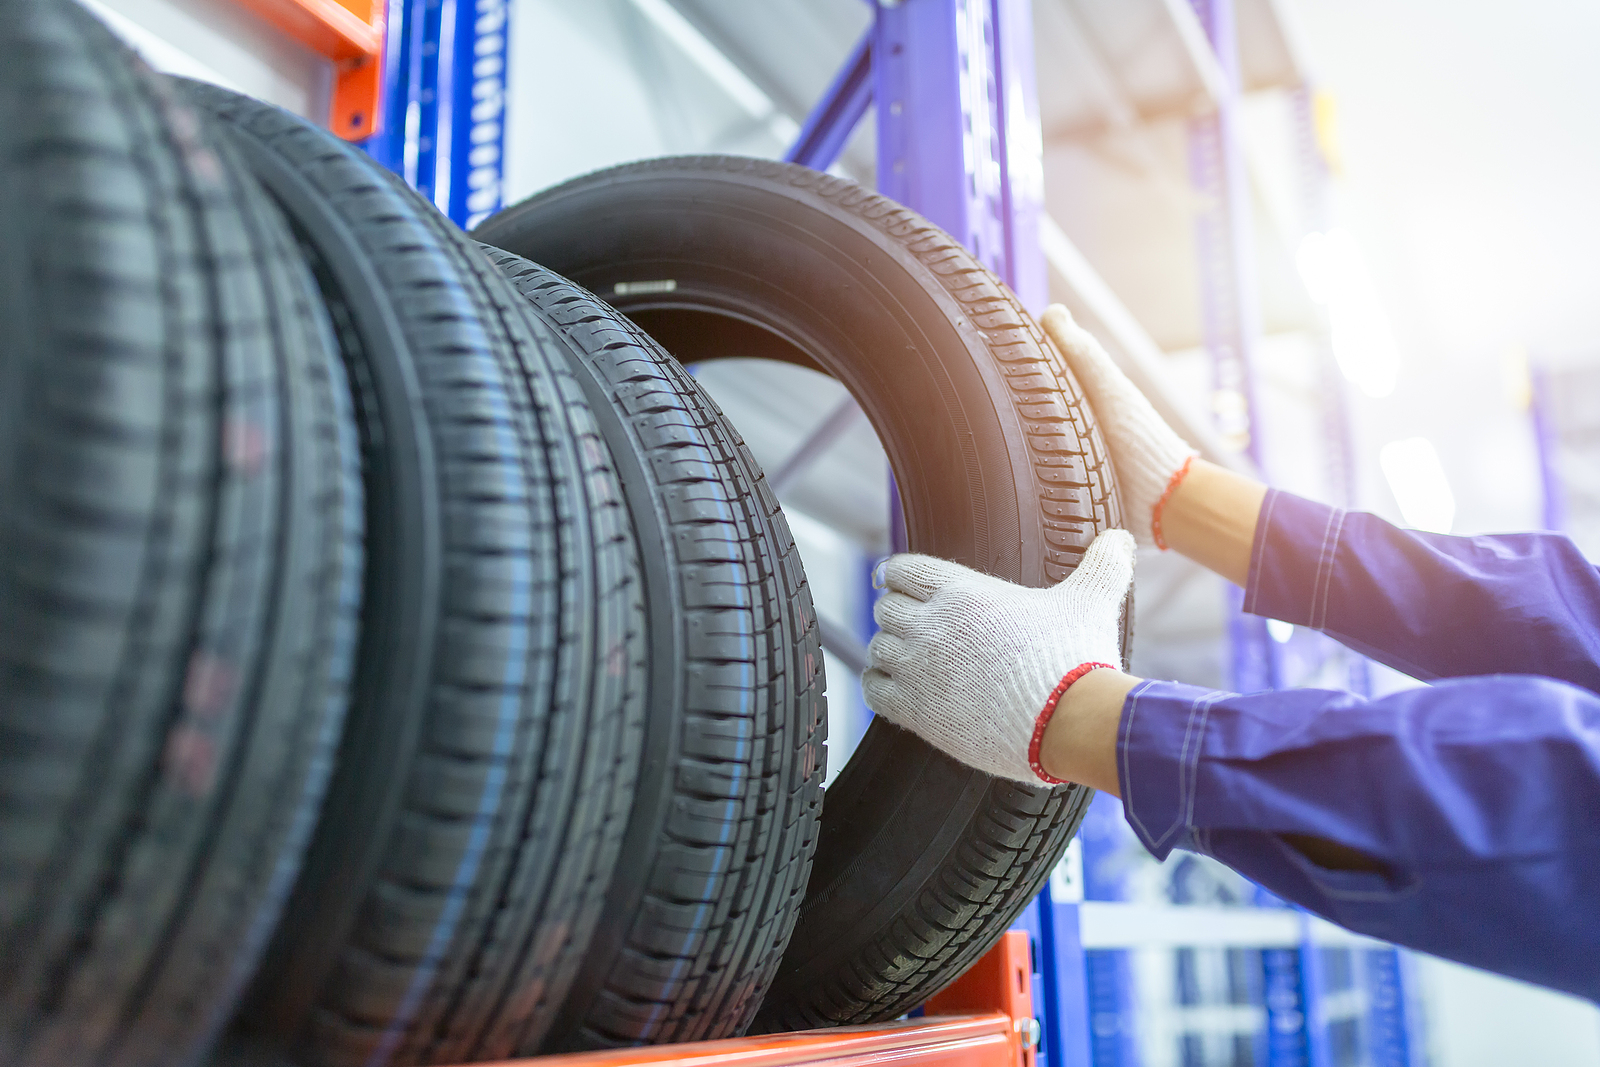
From commuter sedans to long-haul trucks, tires are essential to everyday life. At FlexTrades, our skilled technicians travel across the country to support U.S. manufacturers — and many of them drive thousands of miles to reach their assignments. So when it comes to the reliability of tires, we don’t take it lightly.

In fact, we support several leading tire manufacturing clients nationwide, providing the talent that helps keep production lines rolling. That’s why, in this edition of How It’s Made, we’re exploring the process behind the rubber that meets the road.

Tire Materials

Tire manufacturing starts with a mix of natural and synthetic materials, blended for strength, flexibility, and durability.

  • Natural Rubber
  • Synthetic Rubber / Polymers
  • Steel Wire: Used in belts, beads, and truck tire plies
  • Textile Cords: Provide structural support within plies
  • Fillers: Carbon black and silica, used to reinforce rubber during the Banbury mixing process
  • Antioxidants & Antiozonants: Protect the rubber from heat, oxygen, and ozone damage
  • Curing Additives: Sulfur and zinc oxide, key ingredients during vulcanization

Rubber Manufacturing Process

There are three key operations used to prepare rubber for tire building:

  • Banbury Mixing: Raw and synthetic rubbers are mixed with fillers under heat and pressure to form solid, workable rubber
  • Extruding: Shapes the rubber into usable forms
  • Calendering: Layers rubber with fabric or steel to create belts, plies, and edge covers

Once processed, the material is cut, sheared, spliced, or shaped to exact specifications — ready for tire construction.

Tire Components

Every tire is made of multiple layers, each with a specific purpose:

  • Innerliner: Keeps air sealed inside the tire
  • Plies: Provide strength and hold air pressure
  • Bead: Ensures an airtight seal with the wheel
  • Sidewall: Protects the structure from road and curb damage
  • Belts: Add strength to the tread and improve performance
  • Tread: Provides grip, traction, and durability

How Tires Are Made

The tire-building process happens in two stages on highly specialized machinery, such as:

  • Tire Building Machine (TBM)
  • Tire Assembly Machine (TAM)
  • Tire Forming Machine (TFM)
  • 1st and 2nd Stage Machines

These may be manually operated or fully automated depending on the facility.

Stage One: Casing Building

This step forms the base structure of the tire — also called the carcass. It includes:

  • Wrapping the innerliner onto the drum
  • Layering body plies over the innerliner
  • Placing the beads at each side
  • Inflating the drum bladder to shape the plies over the beads
  • Adding and pressing sidewalls into place

Stage Two: Tread & Belts Application

The carcass moves to a second machine where steel belts and tread are added. At this point, it’s known as a green tire — shaped but not yet cured or hardened.

Curing the Tire

The green tire is placed into a curing mold, which functions like a large clamshell. A bladder inside the mold inflates with steam, pressing the rubber into the mold to form the tread pattern and sidewall lettering.

  • Passenger tires cure for 10–15 minutes at 300°F
  • Heavy-duty or off-road tires may cure for 24 hours

Once cured, the tire is cooled on a Post-Cure Inflator (PCI) to stabilize its shape before inspection.

Inspection & Testing

Every tire undergoes strict quality control to ensure safety and performance.

  • Tire Uniformity Testing: Measures balance and roundness under simulated road conditions
  • X-Ray Testing: Detects internal flaws
  • Destructive Testing: Verifies structural limits under extreme stress

After passing all inspections, the tire is ready for the road.

For a closer look, watch this Tire Manufacturing Video. And if you’re curious about tire care, check out our article on safe driving and tire maintenance.

Safe travels! 

In Minnesota, we like to say we have 11 seasons — not four. They are:

  • Winter
  • Fool’s Spring
  • Second Winter
  • Spring of Deception
  • Third Winter
  • Mud Season
  • Actual Spring
  • Summer
  • False Fall
  • Second Summer
  • Actual Fall

Right now, we’re somewhere between Actual Spring and Summer, which means shelves are stocked with bug spray, sunglasses, and (of course) sunscreen. That got us thinking… how is sunscreen made?

Let’s break it down in this month’s How It’s Made feature.

What Does Sunscreen Do?

The sun emits three types of light: infrared, visible, and ultraviolet (UV). UV light is the most harmful to humans. There are two types of UV rays:

  • UVA: Can penetrate deep into the skin, damaging cells and the immune system
  • UVB: Can burn the outer skin and contribute to skin cancer

Sunscreen helps by either blocking UV rays or absorbing them before they penetrate the skin. To do this, sunscreen includes active ingredients such as:

  • Titanium Dioxide
  • Zinc Oxide
  • Avobenzone
  • Octisalate
  • Oxybenzone
  • Homosalate

These are mixed with liquids (like purified water), functional agents (emulsifiers, stabilizers), and skin-nourishing ingredients like Vitamin E.

Here’s a graph showing the ingredient percentages typically found in sunscreen.

Four Steps to Making Sunscreen

Step 1: Purify the Water

Sunscreen starts with reverse osmosis purification to ensure clean, contaminant-free water.

Step 2: Mix the Ingredients

Solids, powders, and flakes are added to large kettles or vats with purified water. Recipes outline exact measurements, time, temperature, and mixing speed.

Curious how similar this process is to other manufacturing operations? Check out our past articles:

Step 3: Transfer to Stainless Steel Tanks

Once mixed, the formula is pumped through sanitary piping into 1,000-gallon tanks inside sterile rooms.

Step 4: Fill & Package

From these tanks, sunscreen flows into pressurized filling machines via more stainless piping.

  • Bottles are fed in by conveyor
  • Nozzles fill, cap, and seal each bottle automatically
  • Products are then boxed, palletized, wrapped, and shipped

Choosing the Right Sunscreen

Manufacturing it may be straightforward. Buying it? Not always.

If you’re standing in the sunscreen aisle unsure what to choose, you’re not alone.
Here are two great resources:

And remember — no matter how many “seasons” your state has, wear sunscreen year-round.

Happy (and SAFE) Sunning! 

We hear about “going paperless” all the time — a byproduct of technological advancement. And while digital workflows are growing, paper remains an essential part of modern life. From packaging and printing to hygiene and education, its uses are vast and vital.

But paper isn’t new. In fact, many historians agree it was invented in China around 105 BC — making it a true innovation of the ancient world. In this edition of How It’s Made, we’re diving into the modern papermaking process.

Step 1: Logging & Cutting

It all begins with trees — mostly fast-growing evergreen species. That said, more and more manufacturers now use renewable fibers like cotton, bamboo, hemp, and jute to reduce environmental impact.

At the logging site, harvested trees are debarked and processed into wood chips using heavy-duty machinery. Check out the debarking and chipping process here!

Those wood chips are then transported to a paper mill for processing.

Step 2: Pulping

Pulping breaks down wood fibers and separates out the components needed to form paper. There are two primary methods:

  • Chemical Pulping: Used for high-strength products like containers, paper bags, and writing paper, this method cooks the chips in a solution of sodium hydroxide and sodium sulfide under high pressure (sulfate/kraft process). This removes lignin, sugars, and other impurities to form a fiber-rich slurry, which is then washed, bleached, and screened.
  • Mechanical Pulping: Commonly used for newspapers, paper towels, and tissues, this method grinds wood chips using rotating discs — no pressure or heat required. The resulting mixture is also diluted into a slurry and further cleaned for processing.

Step 3: Beating

The pulp slurry is then sent to a beating vat, where it’s pounded and refined. Here, filler materials like chalk, clay, or specialty chemicals are added to control texture, weight, and opacity — all tailored to the intended final use of the paper.

Step 4: Drying

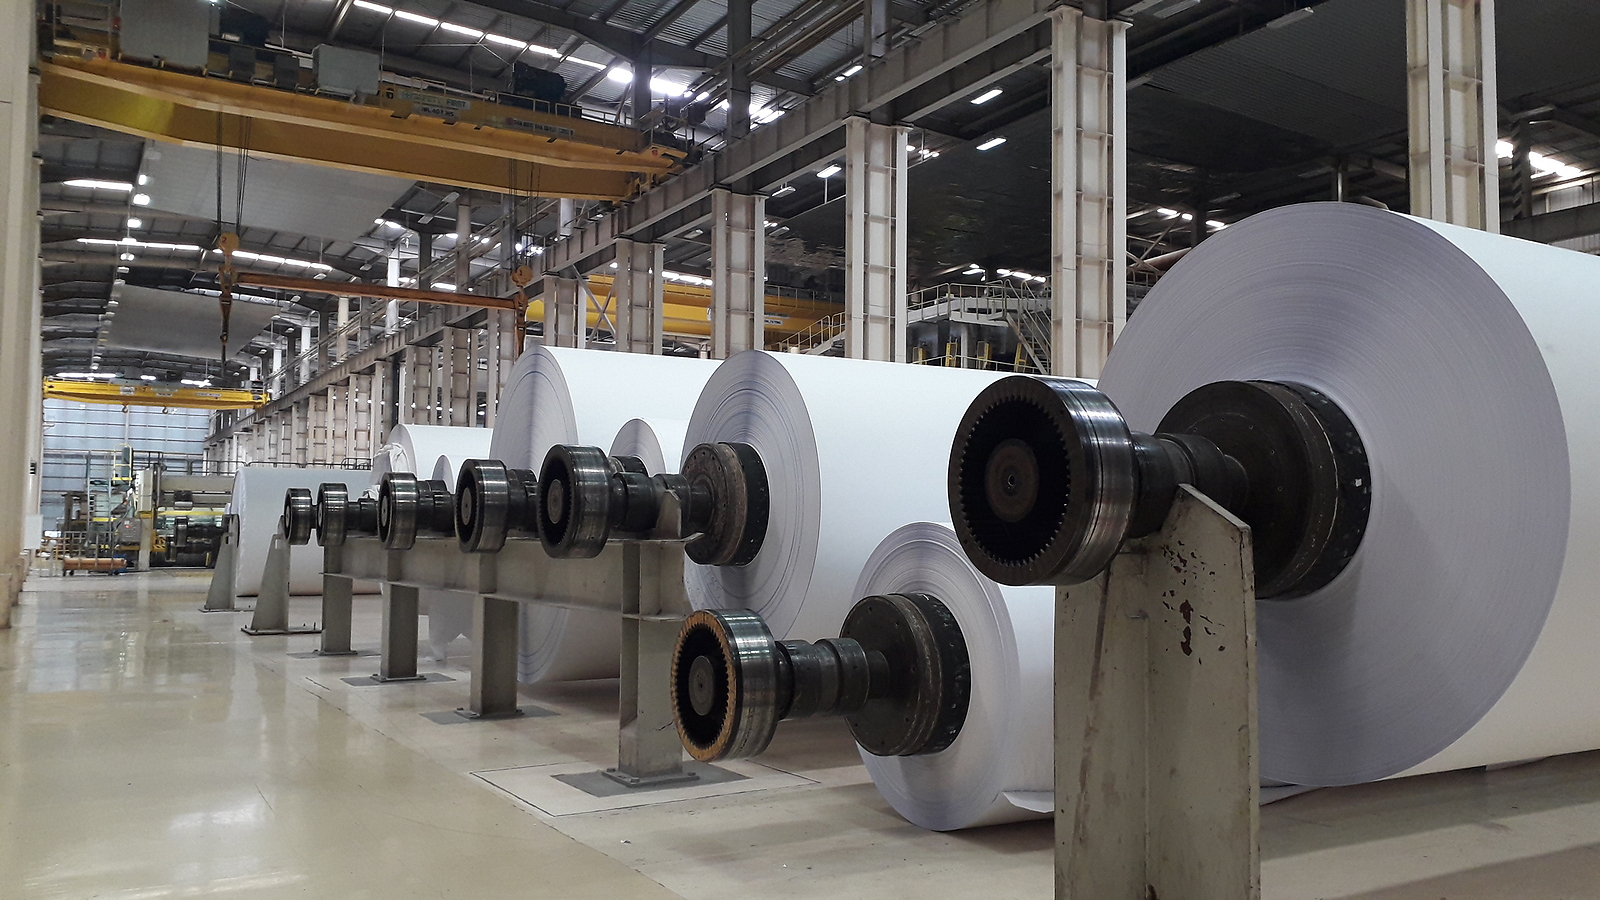
The slurry still contains lots of water — and that moisture needs to go. First, it’s sprayed onto mesh screens to form a wet mat. Then, it’s pressed through industrial rollers to remove about 50% of the water. After pressing, the mats are heated and dried further, bringing total water removal to 90-95%.

Step 5: Rolling

At this stage, the paper is nearly finished. Depending on its end use, additional treatments may be applied. Finally, the dried sheets are fed through industrial rolling machines, creating large paper rolls for use in manufacturing and converting.

Want to see the scale of this operation? Check out this full paper mill tour!

And if you’re interested in sustainability, don’t miss our How It’s Made article on recycling — also on the FlexTrades blog.  

The first day of spring arrived on Sunday, March 20, and with it comes sunshine, fresh air… and spring break! It’s the perfect season to get out, explore, and maybe try something a little different.

This year, we invite you to think outside the box and take your travels in a new direction — one shaped by American manufacturing and industry.

It might sound niche, but industrial tourism is more common than you think. And with a wide mix of in-person experiences and virtual options, there’s something for everyone whether you’re traveling or staying in.

Regional Manufacturing Travel Ideas

The Rust Belt: This Great Lakes region (PA, MI, IN, WV, OH) shaped the American industrial backbone. Rich in coal, iron, and transport networks, it’s known for automotive, metal fabrication, food, and chemical manufacturing.

California: A hub for electronics, computers, chemicals, and petroleum products. California has long been a leader in both tech and heavy industry.

Texas: Similar to California, Texas is strong in petroleum and chemical production. It also leads in food and building materials like brick and cement.

New England: With deep roots in America’s earliest industrial revolutions, New England (MA, CT, NH) is now a powerhouse in aerospace, electronics, and appliance manufacturing.

Must-See Museums and Exhibits

Statues and Historical Memorials

Virtual Tours & Online Exhibitions

If you’re interested in more manufacturing history, don’t miss our post:

Inventors & Leaders – Black History Month 

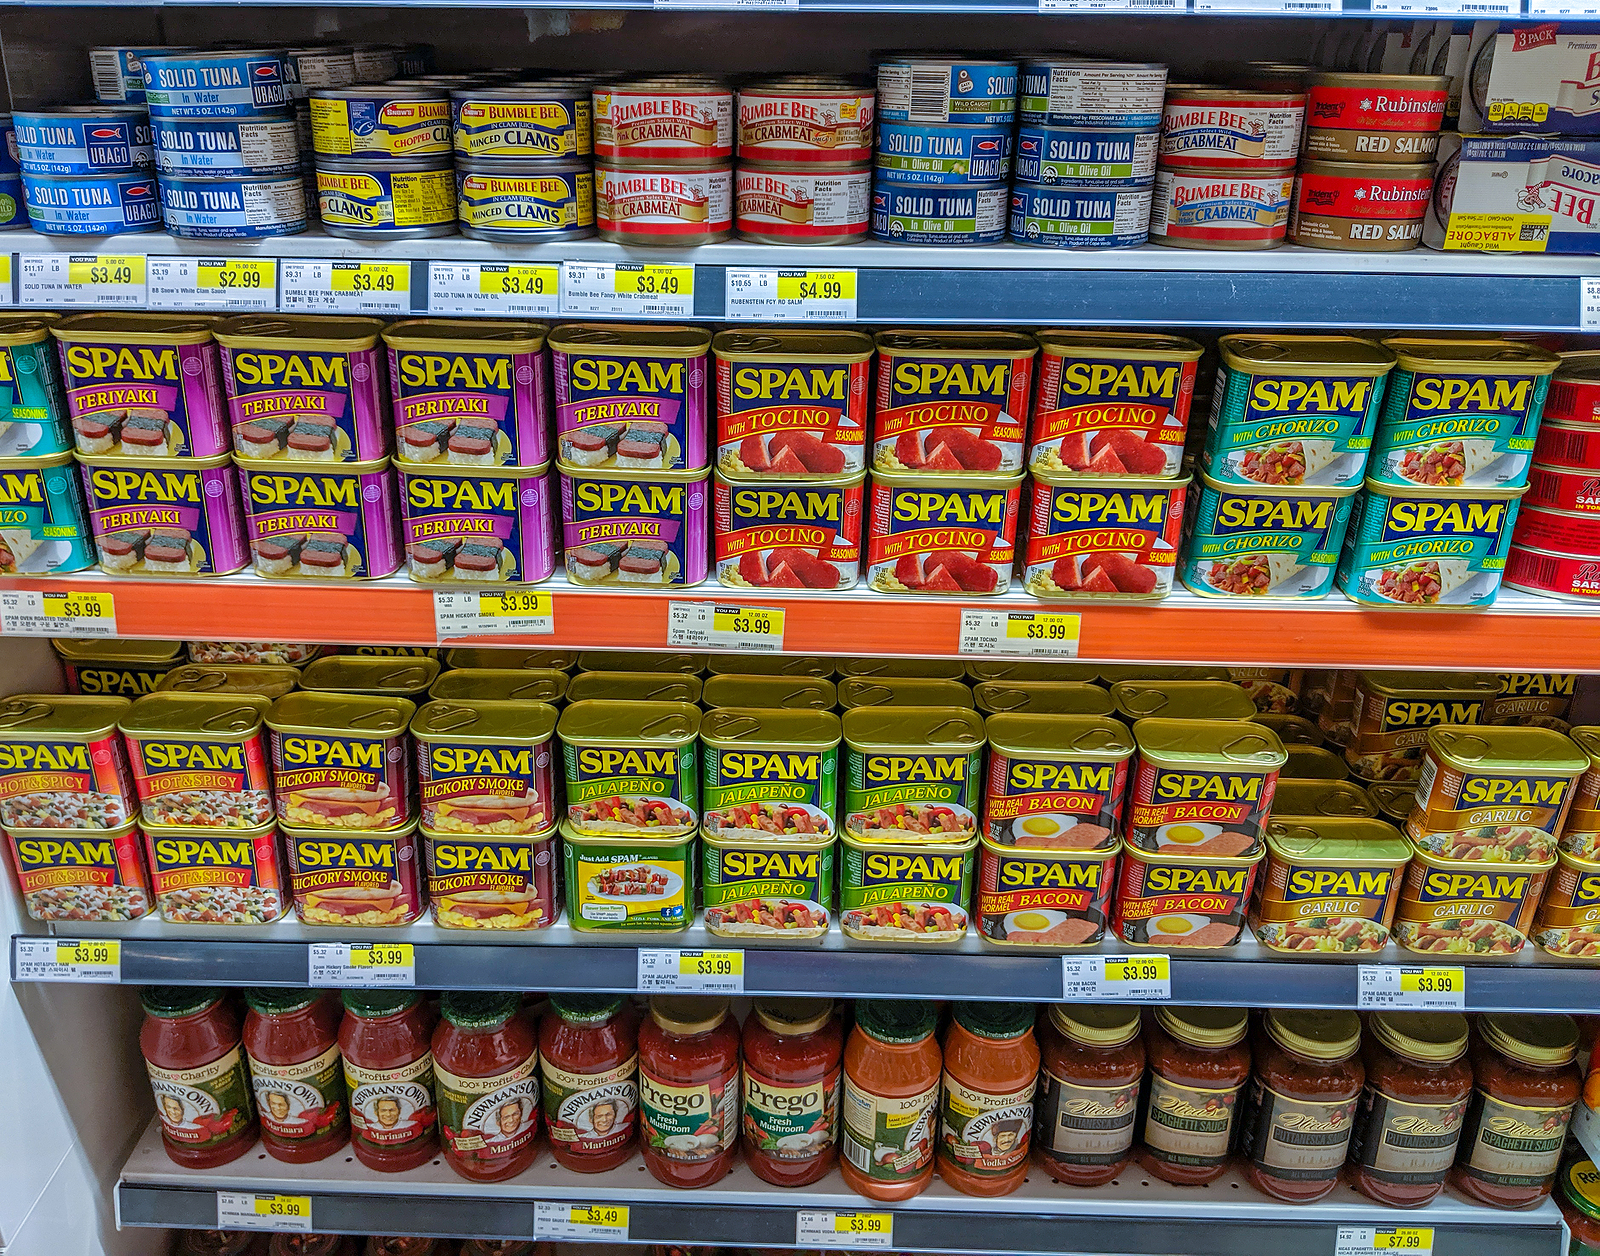
March is a big month for meat lovers. In the UK, it’s SPAM® Appreciation Week. In the U.S., we celebrate National Deli Meat Month — and what better way to join the fun than by demystifying one of the most iconic canned meats ever made?

In this edition of How It’s Made, we’re taking a closer look at SPAM® — what it is, how it’s made, and why it’s still flying off shelves after more than 85 years.

SPAM® Facts You Might Not Know

  • SPAM® is produced by Hormel Foods, which has sold over 8 billion cans since 1937 — in 44 countries.
  • The name came from a naming contest. The winner received $100. No one truly knows if it stands for “spiced ham,” “shoulder of pork and ham,” or something else.
  • Originally popular with U.S. troops during WWII, SPAM® was used to lubricate guns and grease boots, not just for meals.
  • Today, three cans are sold every second worldwide.
  • SPAM® is found in one out of three American households.
  • Guam and Hawaii are among the biggest consumers per capita — in Guam, the average person eats 16 cans per year.
  • In South Korea, SPAM® is often considered a luxury gift.
  • McDonald’s in Guam serves it on the menu.

And for us Minnesotans? SPAM® is a point of pride — Hormel was founded right here in 1891.

How SPAM® Is Made

SPAM® was born when Jay Hormel saw a butcher slicing canned meat at a deli and thought: “What if consumers could skip the butcher and slice it themselves at home?” The result was a shelf-stable, high-protein product that didn’t require refrigeration — a game-changer for American kitchens.

The Ingredients (Yes, Only Six)

  • Ground pork mixed with ground ham
  • Salt
  • Water
  • Sugar
  • Sodium nitrite
  • Potato starch (added in 2009)

Most of the pork used is pork shoulder — a cut that was once hard to process for other purposes. Sodium nitrite acts as a preservative, preventing bacterial growth and creating SPAM’s signature pink hue. Potato starch, added decades later, helps bind the meat and retain moisture while cooking.

Manufacturing Process

Creating SPAM® might be simple on paper — but the process is a high-volume, precision operation:

  • Hand carve and grind the meat in 8,000-pound batches at controlled temperatures (approx. 20 minutes).
  • Use a vacuum mixing machine to super cool the meat.
  • Add remaining ingredients and blend.
  • Funnel the mixture into cans, vacuum seal, and apply labels.
  • Cook the cans using hydrostatic cookers (steam + pressure) — up to 33,000 cans per hour!
  • Package and palletize for global shipment.

Six ingredients. Six steps. No mystery.

Give It a Try

Never tried SPAM®? As a proud Minnesotan, I think you should.

Grab a can at your local store and give it a go. Fry it, bake it, or turn it into SPAM sushi (yes, it’s a thing). Pair it with cheese (and check out this article on how cheese is made) for the full experience.

Happy Eating — and Happy National Deli Meat Month! 

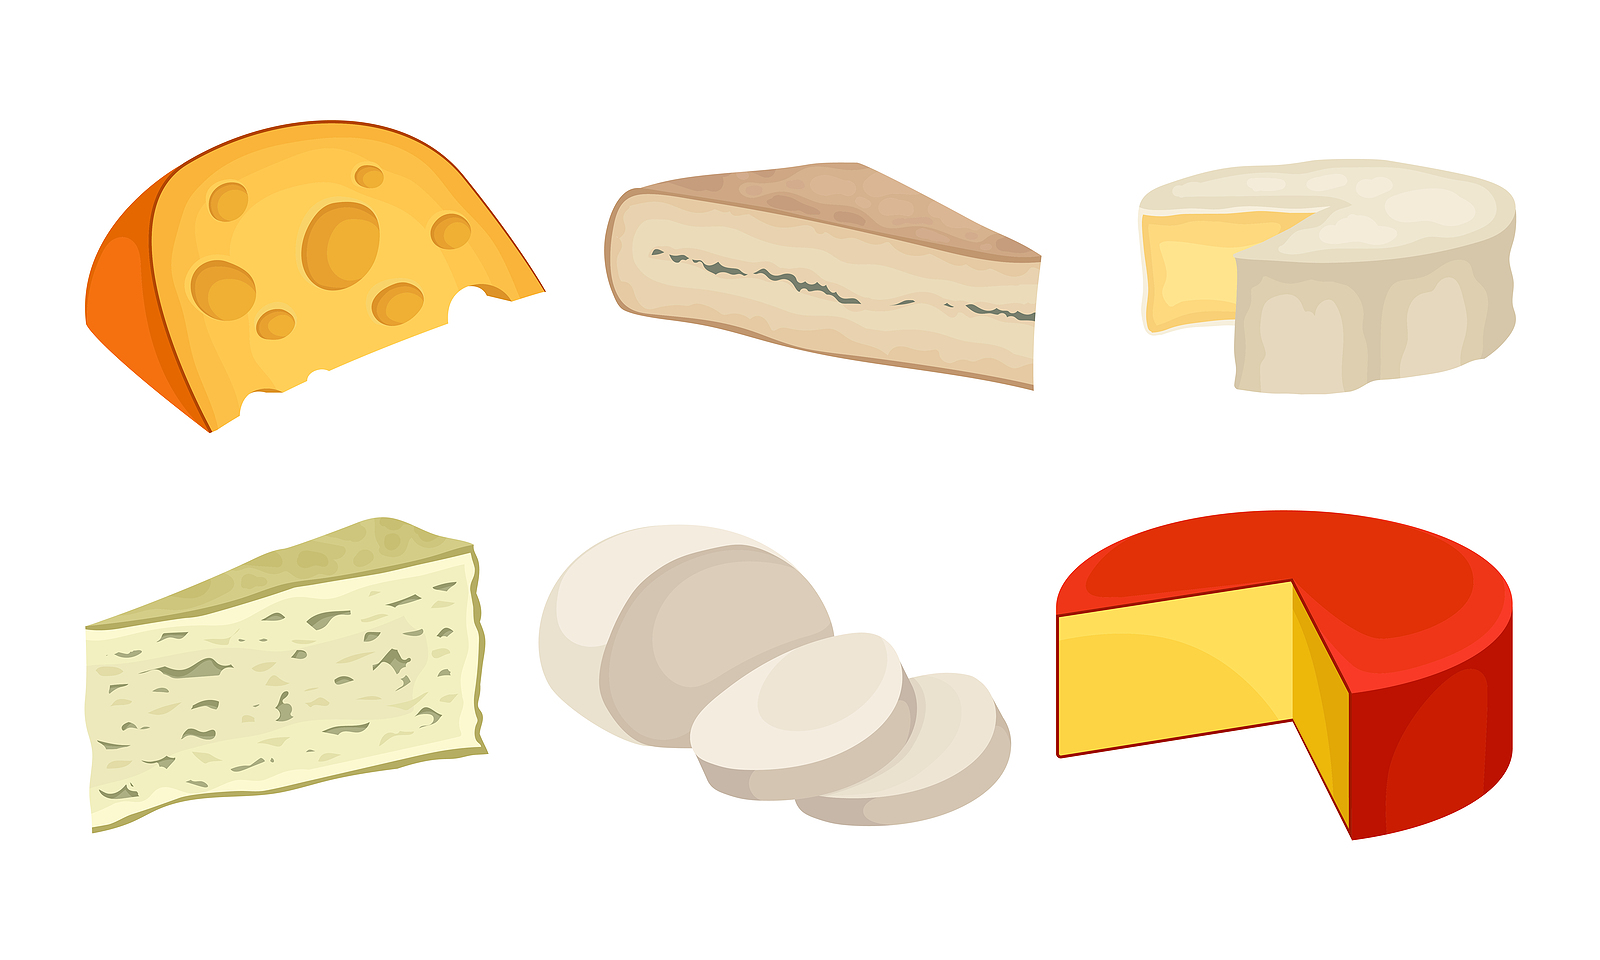
Today is National Cheese Lover’s Day, so naturally, we’re turning our attention to one of the most beloved foods on the planet — cheese.

In this edition of How It’s Made, we break down the process behind your favorite wedge, block, or slice.

What’s in Cheese?

Cheese is made from just four basic ingredients:

  • Milk
  • Salt
  • Starter Culture
  • Rennet

Together — and through the magic of food science — these ingredients can become hundreds of different varieties, each with their own unique flavor, texture, and personality.

How Cheese Is Made

It all starts with fresh, high-quality milk. Milk is stored in refrigerated tanks at the farm, then transported to a processing facility where it’s tested, weighed, heat-treated, and pasteurized.

Sometimes, additional fat, cream, or protein is added to the milk depending on the desired cheese type.

Next, starter cultures — also known as good bacteria — are added. These cultures begin the fermentation process by converting lactose into lactic acid. This step eliminates harmful bacteria and starts to define the texture and flavor of the cheese. (Different cultures = different cheeses.)

At this point, natural colorings may be added. (Think: the orange hue of Cheddar.)

After that comes rennet, a milk-clotting enzyme that coagulates the mixture into a custard- or gel-like consistency. From here, processors carefully manage temperature, timing, and humidity, which transforms the mixture into curds (solids) and whey (liquids).

A cutting step determines curd size — smaller curds lead to drier cheese. When stirred and heated, curds release whey until the desired consistency is reached.

Then, one of two things happens:

  • The curd is salted and pressed into a form (like Cheddar or Colby).
  • The curd is pressed into a hoop and brined (like Mozzarella or Swiss).

The final step in some cases is affinage — the aging process. Cheese is stored in special rooms under precise conditions, sometimes for 10 years or more, to develop its final flavor and texture.

Sounds Simple, Right?

Not quite. While the ingredients are minimal, the equipment, process, and scientific precision required to make cheese correctly are anything but basic. It’s an impressive mix of art, chemistry, and control.

And of course, don’t forget to celebrate National Cheese Lover’s Day with your favorite variety — soft, hard, aged, fresh, or somewhere in between. 

I’m sure you’re well aware of the tiny but iconic lollipops called Dum Dums. You might even have a favorite flavor — maybe even the elusive “Mystery Flavor”. But what exactly is it? Let’s break it down in this edition of How It’s Made.

How Is Candy Made?

Candy-making starts with two basic ingredients: sugar and water. From there, the type of candy determines additional ingredients — brown sugar, corn syrup, fats, acids, and flavorings all come into play.

Once mixed, the base is heated — sometimes up to 350 degrees Fahrenheit. Hard candies are heated at higher temperatures, while soft candies require less heat. After that, the mixture moves through a series of automated processes: molding, cooling, wrapping, and packaging.

These processes often use the same types of machinery found in hygiene product manufacturing.

In short: mix, heat, form, cool, and package. But that still doesn’t answer the big question…

Where Does the “Mystery Flavor” Come From?

The “Mystery Flavor” is actually the overlap between two batches of candy flavors.

To save time and reduce costly production downtime, manufacturers like Dum Dums avoid stopping the production line between flavor changes. Instead, they allow the end of one batch (say, strawberry) to blend into the beginning of the next (vanilla). That mix — strawberry-vanilla — becomes the Mystery Flavor.

There are so few candies made during that transition that it doesn’t make sense to give them a custom wrapper or name. Instead, they’re bundled under the mystery label. This keeps costs low and production high while offering a little extra fun for the consumer.

Now, consider this: Dum Dums currently offer 16 standard flavors. That means there are 256 possible combinations of two-flavor overlaps. So the next time you unwrap a Mystery Flavor, try to guess the mix — but don’t be surprised if it keeps you guessing. 

Welcome to another installment of How It’s Made with FlexTrades, where we break down complex manufacturing processes in clear, digestible ways. In this edition, we’re answering a timely and important question:

How are vaccines made?

Let’s start with the basics.

What Is a Vaccine and How Does It Work?

At its core, a vaccine contains a version of the virus or bacteria it’s designed to protect against. This might sound counterintuitive, but it’s all about training your immune system to respond.

Here’s how:

  • Inactivated or killed vaccines: These vaccines contain a virus that has been fully inactivated (killed), such as in the polio or rabies vaccines.
  • Live attenuated vaccines: These contain a weakened version of the virus that’s strong enough to stimulate the immune system but not strong enough to make you sick. Examples include chickenpox, measles, and hepatitis B.

In both types, the goal is the same: introduce an antigen that prompts your immune system to produce antibodies—specialized proteins designed to recognize and neutralize threats. That way, if you’re ever exposed to the real virus, your body already knows how to fight it.

Step-by-Step: How Are Vaccines Made?

Making a vaccine is a highly controlled, multi-phase process that starts with science and ends with life-saving solutions in a syringe.

Step 1: Grow the Virus or Bacteria

Vaccines begin in the lab where scientists grow large quantities of the virus or bacteria.

  • Viruses are typically grown in cell cultures (often derived from chicken embryos).
  • Bacteria are grown in bioreactors, large tanks filled with nutrient-rich growth mediums like amino acids, carbohydrates, minerals, and proteins.

The goal in this stage is replication—producing enough of the virus or bacteria to create a strong immune response.

Step 2: Harvest and Isolate the Antigen

Once replication is complete, the next step is to extract the antigen (the part that triggers the immune system).

  • Scientists release the antigen from the cell or growth medium.
  • Then, they purify it using methods like chromatography or ultra-filtration to remove impurities and isolate only what’s needed.

Step 3: Formulate the Vaccine

Next, the purified antigen is mixed with additional ingredients to form the vaccine:

  • Adjuvants: Help boost the immune response.
  • Stabilizers: Maintain shelf life and preserve potency.
  • Preservatives: Allow multi-dose use and prevent contamination.

All of these components are blended in large vessels under strict quality control.

Step 4: Fill and Finish

Once the formula is ready:

  • The vaccine is dispensed into vials or prefilled syringes.
  • Each is sealed with sterile closures, labeled, and sometimes freeze-dried for long-term storage.

This is the version you eventually see at clinics, pharmacies, and hospitals.

More Than Manufacturing: The Bigger Picture

While the physical creation of a vaccine is highly technical, it’s only one part of a long process. From initial discovery to regulatory approval, vaccine development can take 15 to 20 years and includes:

  • Laboratory research
  • Pre-clinical studies
  • Multiple phases of clinical trials
  • Rigorous reviews by agencies like the FDA

Want to dive deeper into that process? Here’s a breakdown of the testing and regulation steps required before a vaccine ever hits the market. 

At FlexTrades, we deliver workforce solutions to American manufacturers. That means solving complex problems, answering tough questions, and helping our clients and technicians understand the tools of the trade. One question that comes up more often than you’d think:

What’s the difference between a VTL and a VBM?

Let’s break it down.

VTL vs. VBM: A Simple Answer to a Confusing Question

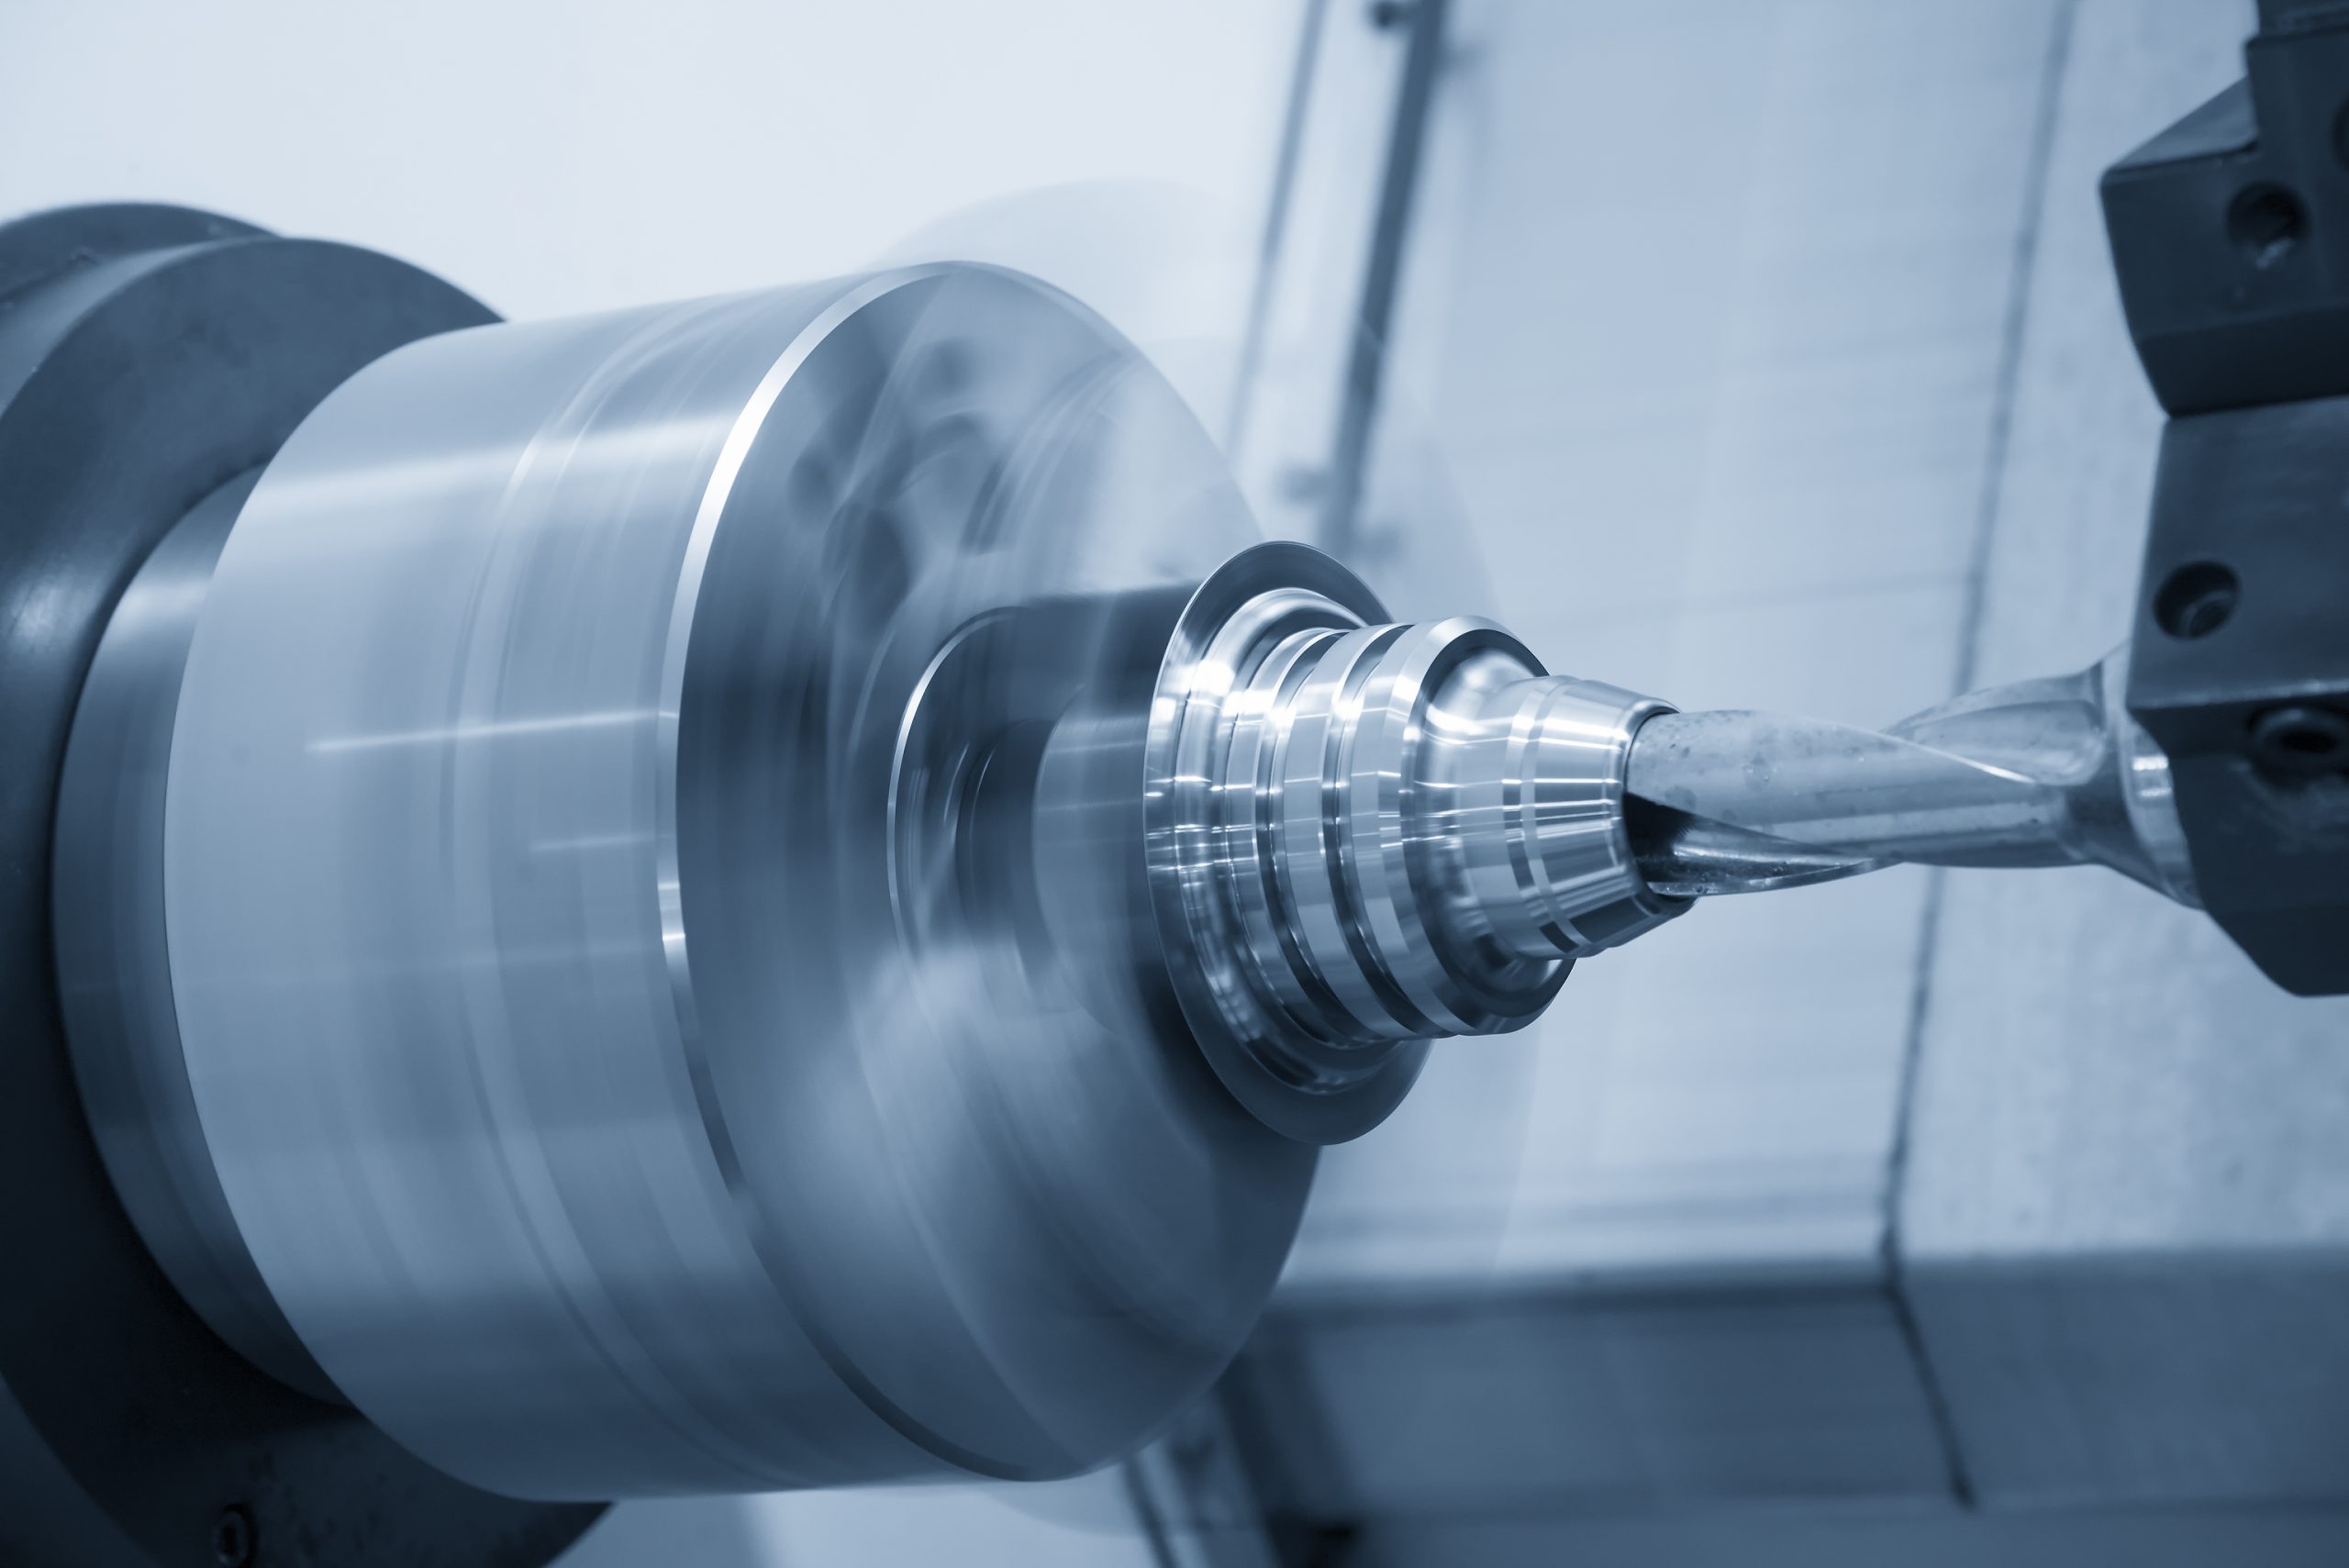
Both Vertical Turret Lathes (VTLs) and Vertical Boring Mills (VBMs) are large-scale machining tools used to shape metal, typically for aerospace, energy, and industrial components. And yes, they’re very similar. In fact, so similar that they’re often confused for one another.

Here’s the key difference:

A VTL is essentially a VBM… but with a turret.

That turret adds a layer of versatility and automation that the traditional VBM doesn’t offer.

Why the Confusion?

VBMs have been around longer, but they don’t get talked about as much these days. The term “VTL” is more widely used in modern machine shops, even when the equipment is technically a VBM. And since many VBMs can perform basic turning operations, the lines between the two blur even further.

So while both machines operate on a vertical axis and use similar base designs, it’s the tool turret that sets a VTL apart.

What the Turret Brings to the Table

A VTL’s turret offers key performance advantages:

  • Threading Capabilities: Built-in turret tools can perform internal and external threading without manual changeover.
  • Shorter Setup Times: With tools preloaded in the turret, there’s less downtime between steps.
  • Fewer Tool Changes: Less manual intervention means faster cycle times and more consistent results.

These benefits all add up to one thing—efficiency. More productivity, less downtime, and better ROI for shops running high-volume or complex parts.

Which One Should You Use?

It depends on the job.

  • If you’re machining large, simple parts with minimal tool changes, a VBM may be all you need.
  • If your projects involve complex profiles, threading, or frequent tool changes, a VTL will likely deliver better performance.

The right machine is the one that fits the part, the budget, and the timeline. And the right technician? That’s where FlexTrades comes in.

Looking for Talent or Opportunities?

Whether you’re a manufacturer needing skilled machinists or a technician ready to work on high-end equipment like VTLs and VBMs, FlexTrades can help.

There’s an old debate that always seems to resurface at summer cookouts: what actually makes a sandwich… a sandwich?

According to Merriam-Webster, a sandwich is either:

  • Two or more slices of bread or a split roll having a filling in between
  • One slice of bread covered with food

So here’s the question—does that mean a hot dog is a sandwich? What about a hamburger?

If you ask around, you’ll get more opinions than answers. Some say the type of bread determines it. Others argue it’s all about the filling. And once you introduce plant-based alternatives into the mix, things get even more complicated. Does using a Beyond Meat patty change the status of your sandwich?

Regardless of your stance, summer is in full swing here at FlexTrades HQ, and that means one thing—grill season. Burgers, brats, veggies, even balsamic honey peaches with feta (highly recommended). But lately, we’ve been wondering… how are plant-based burgers actually made?

That brings us to this edition of How It’s Made.

What Goes Into a Plant-Based Burger?

Plant-based meats have come a long way. Products like the Impossible Burger or the Beyond Burger are engineered to look, cook, and even taste like the real thing. But how is that possible?

It all starts with a combination of science, innovation, and some very specific ingredients.

Ingredient 1: Heme

Heme is the magic behind the flavor in animal-based meats. It’s what gives beef that rich, slightly metallic taste when cooked. In animals, heme is found in muscle tissue (myoglobin). In plants, it comes from the roots of legumes like soybeans, where it’s called leghemoglobin.

But growing soybeans just to harvest leghemoglobin is expensive and resource-intensive. So instead, food scientists figured out how to engineer plant-based heme using yeast fermentation. Add yeast, sugar, and minerals. Let it grow. Extract the heme. This engineered version delivers the flavor punch that makes these burgers taste like beef.

Ingredient 2: Compounds

Flavor is more than just taste—it’s smell. And recreating the aroma of beef requires duplicating its unique mix of compounds.

Scientists used a process called Gas Chromatography Mass Spectrometry to break down the compounds found in real beef. Once identified, those compounds can be replicated in the lab and added to plant-based patties to mimic the scent and taste of the real thing.

Ingredient 3: Plant Proteins

Texture matters. That bite and chew of a real burger? It comes from protein.

Using protein analysis, scientists identified the structural characteristics of beef proteins and matched them to plant-based equivalents. Wheat and potato proteins give the firmness and moisture retention needed to create the familiar texture of ground meat.

Ingredient 4: Fat

Coconut oil, stripped of its natural flavor, is used to add richness and juiciness to plant-based burgers. It mimics the melt and mouthfeel of animal fat, especially when cooked.

How Are Plant-Based Burgers Manufactured?

Once the core ingredients are assembled, they go through a precise manufacturing process involving thermal and mechanical stress. Rapid heating and cooling help blend and reshape the proteins and fats. The final product is extruded into burger patties and packaged for distribution.

This is not backyard science. It’s high-tech food production driven by chemistry, precision equipment, and deep knowledge of how people experience taste and texture.

So… Is a Hamburger a Sandwich?

That brings us back to our original question. Is a hamburger a sandwich? What about a plant-based hamburger?

If it walks like a sandwich and grills like a sandwich… you decide.

One thing’s for sure—whether it’s beef or Beyond, grilled patties between buns are part of the American summer tradition. And we’re here for it.