Memorial Day has passed. The long weekend is behind us. The grills have cooled. The flags are coming down. Most of us are back to work.
But the meaning of the day should not disappear just because the calendar moved on.
Memorial Day began as Decoration Day after the Civil War, when Americans gathered to decorate the graves of those who died in service. The first national observance took place on May 30, 1868, at Arlington National Cemetery. More than a century and a half later, the purpose remains the same. We stop to remember the men and women who never came home.
There are many places in America where that remembrance feels physical. Arlington is one of them. And inside Arlington National Cemetery, few places carry more weight than the Tomb of the Unknown Soldier.
The Tomb honors those who died in war and were never identified. It gives form to grief that had no name to hold onto. It stands for families who never received answers. It stands for service members whose sacrifice could not be marked by identity, rank, hometown, or story.
And like so many things that last, it was made by hand.
The Tomb began as a simple marble slab. Later, the United States sought to create something larger, something permanent, something worthy of the sacrifice it was meant to honor. That decision started a process that required design, material selection, quarrying, transportation, cutting, sculpting, finishing, and installation.
In other words, it required makers.
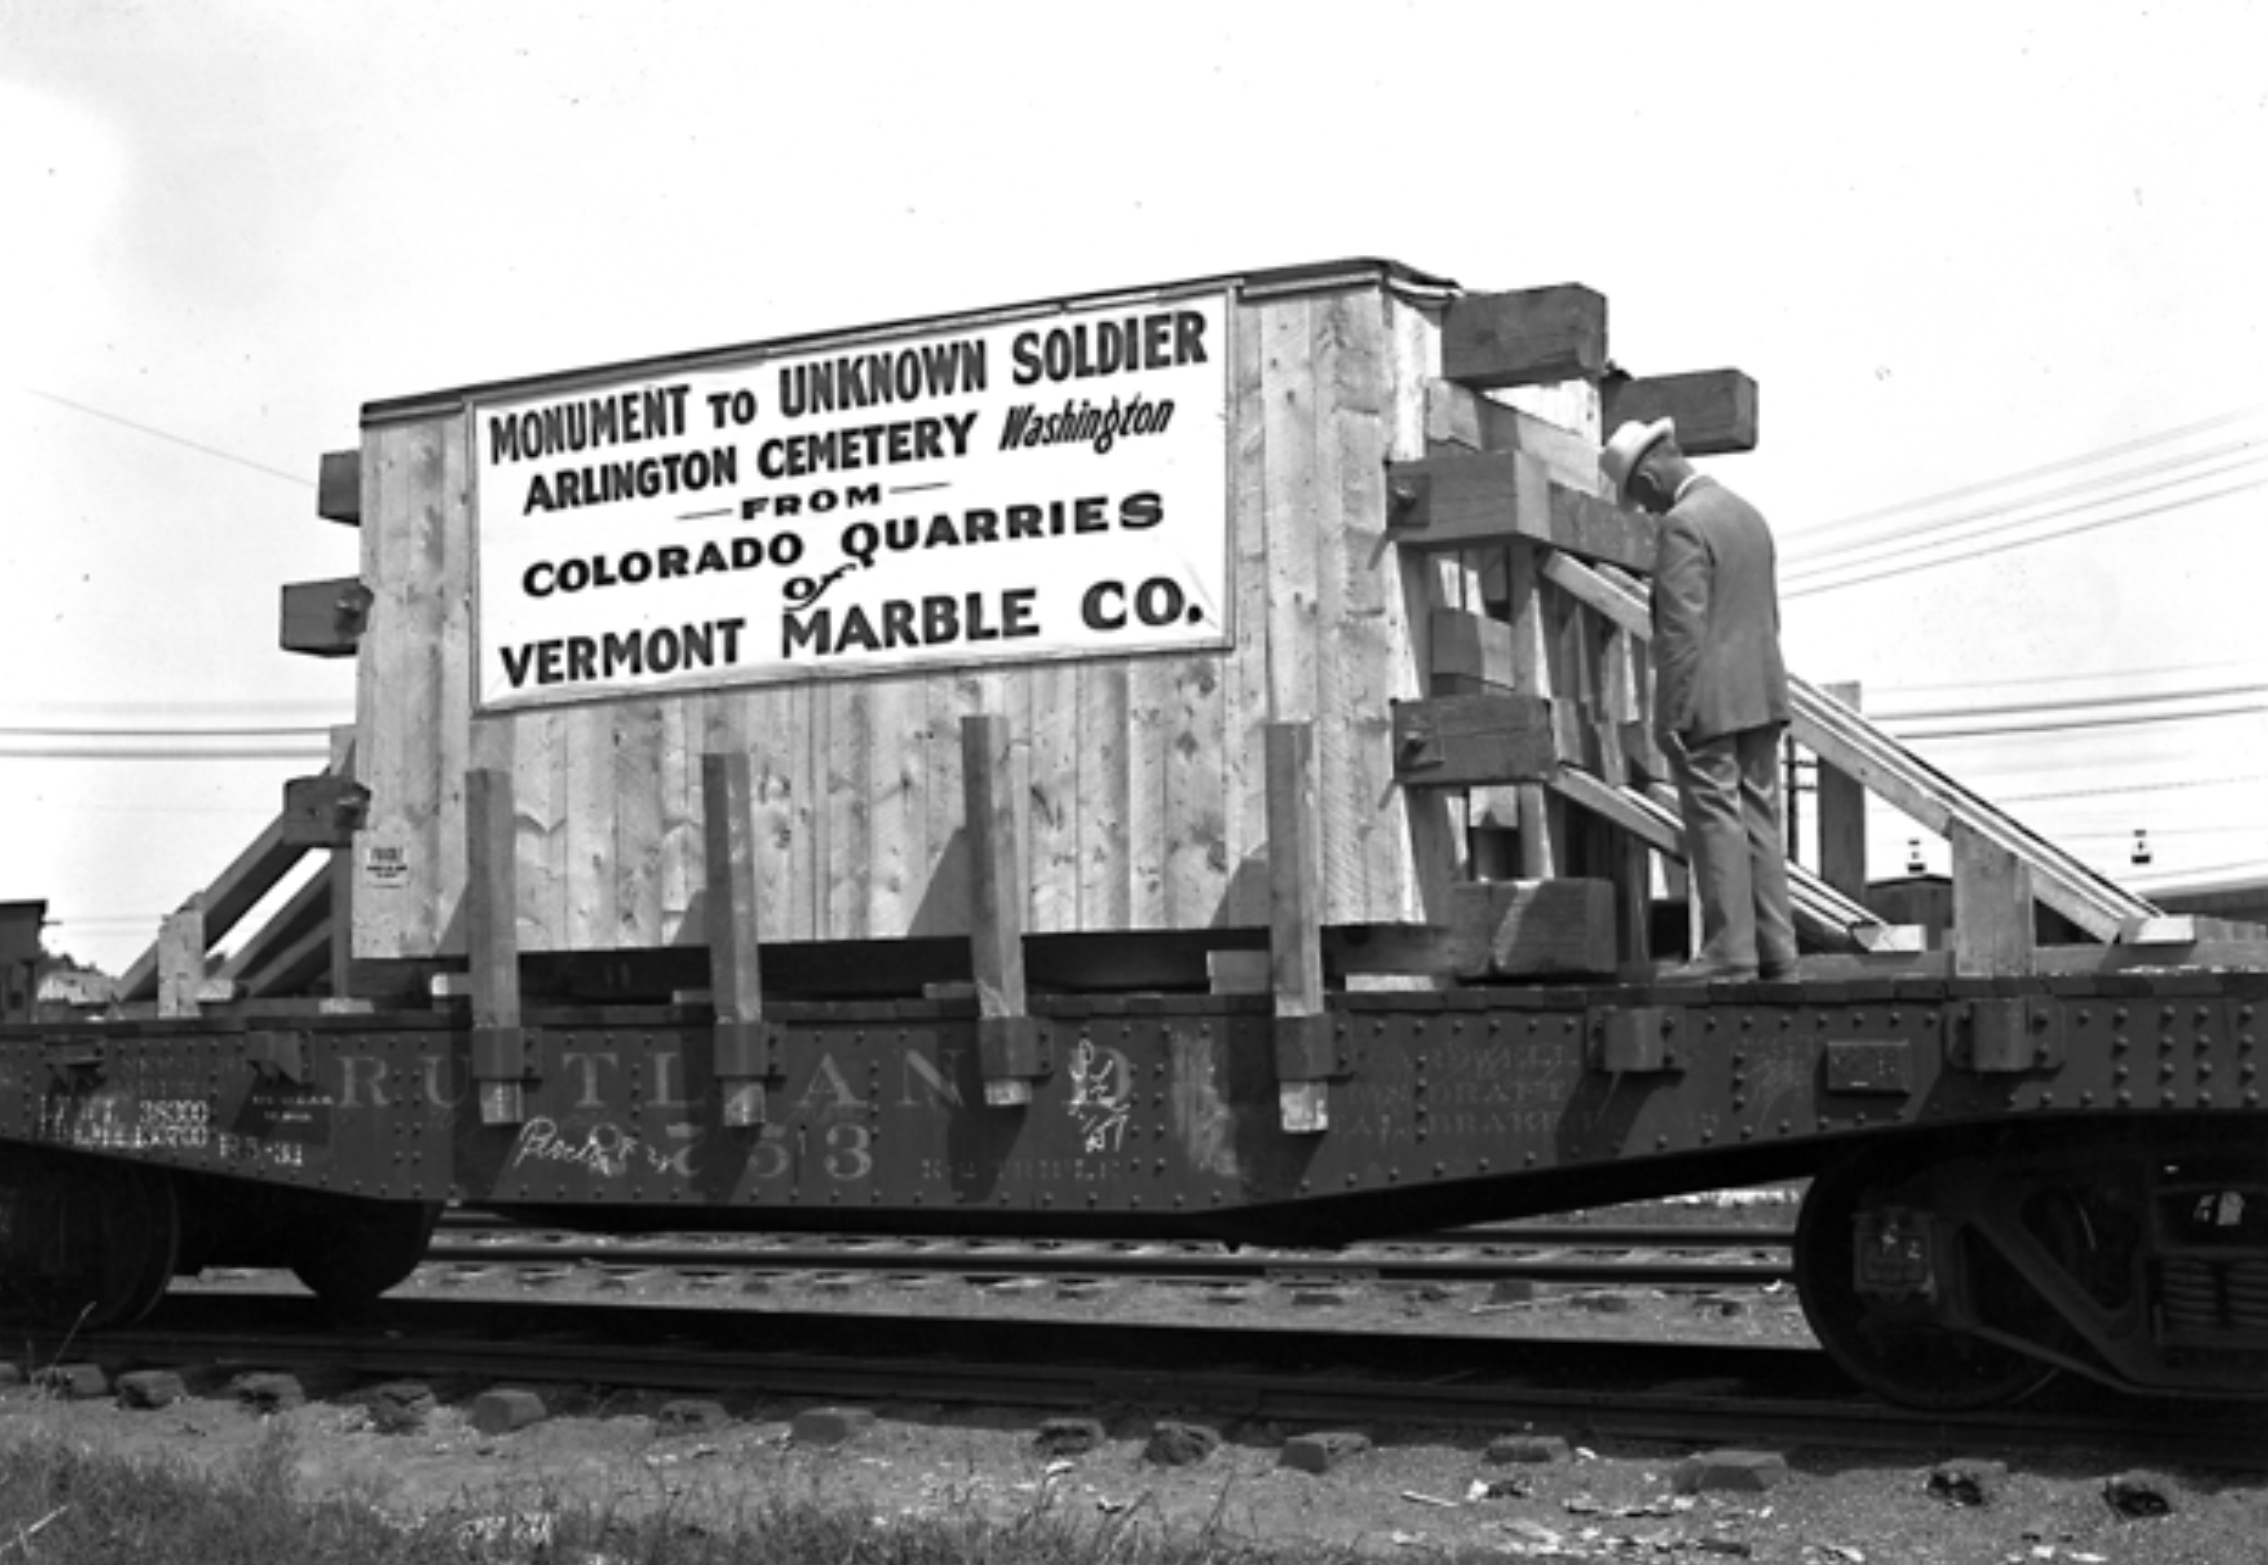
The marble came from the Colorado Yule Marble Quarry, the same region known for producing stone used in the Lincoln Memorial. Pulling a massive block of marble from the mountains was no small task. The quarry sat thousands of feet above sea level. The work was dangerous, difficult, and exacting. Men had to cut, move, inspect, ship, and shape a piece of stone that would become part of the national memory.
That is the part of the story worth sitting with.
Because before the Tomb became a symbol, it was material.
Before it became a place of silence, it was noise.
Wire saws. Rail cars. Stone mills. Hand tools. Measurements. Dust. Sweat. Judgment. Skill.
The block of marble was quarried in Colorado, moved to a mill, shipped east, inspected, partially sculpted, transported again, and finished at Arlington. Architect Lorimer Rich and sculptor Thomas Hudson Jones led the design. The Piccirilli Brothers, a family of master carvers also tied to the Lincoln Memorial, helped complete the sculpting.
This was not fast work. It was not easy work. It was not digital work.
It was physical. Precise. Human.
That matters.
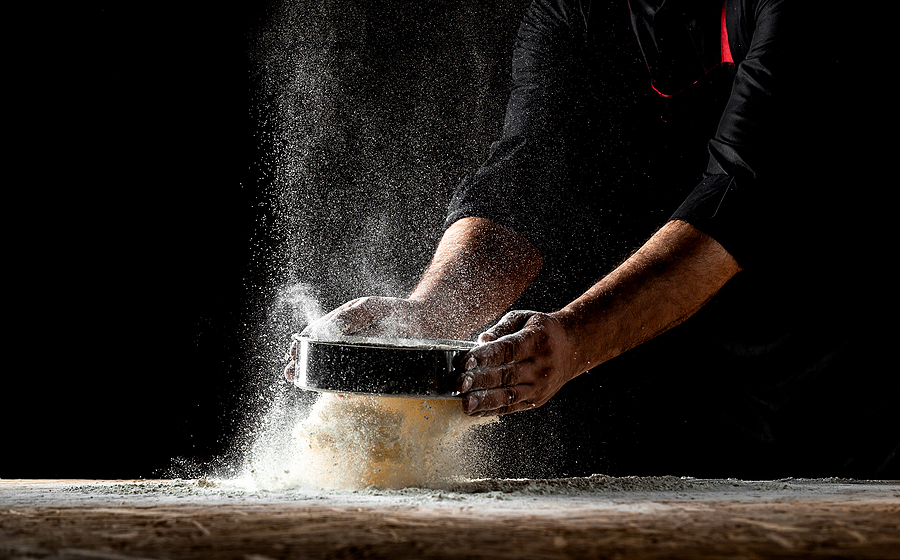
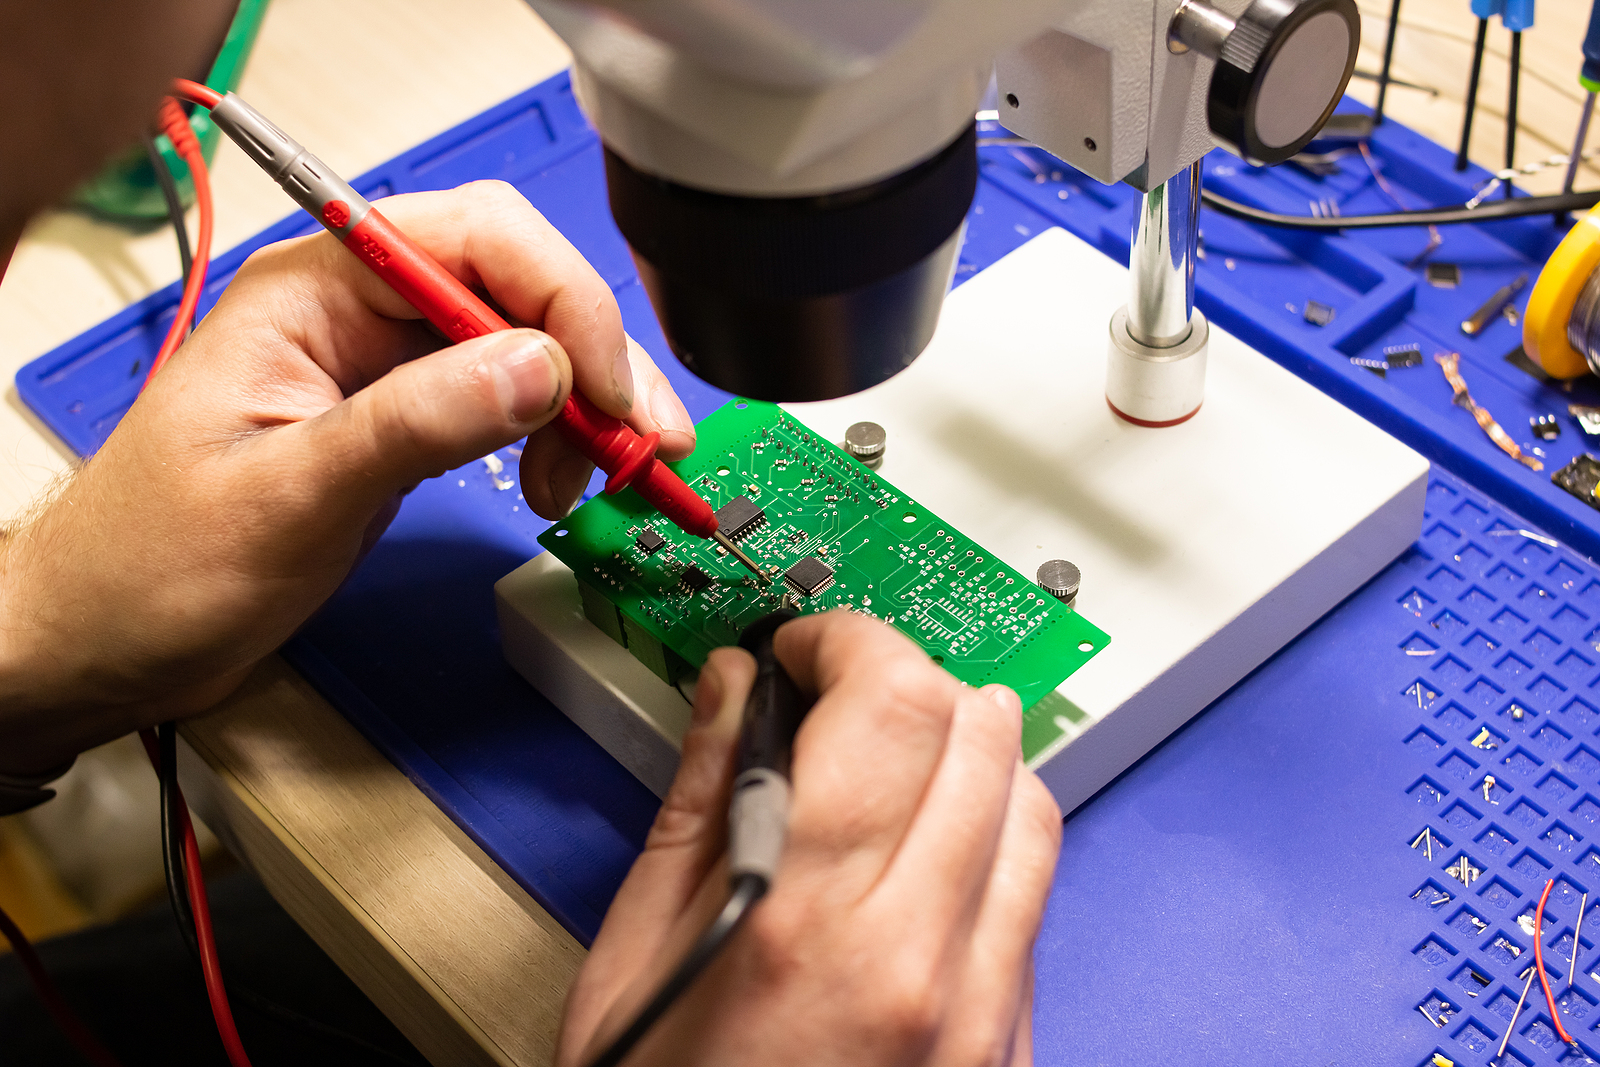
At FlexTrades, we talk often about the skilled trades because the work is everywhere, even when people do not always see it. Manufacturing is not just production floors and output numbers. It is the ability to turn raw material into something useful, lasting, and, in rare cases, sacred.
The Tomb of the Unknown Soldier is one of those rare cases.
Its details carry meaning. The west panel bears the inscription, “Here rests in honored glory an American soldier known but to God.” The east panel includes figures representing Peace, Victory, and Valor. The wreaths carved into the north and south panels represent memory. Every line, figure, panel, and proportion was designed with purpose.
Purpose does not happen by accident.
It has to be drawn. Cut. Checked. Shaped. Corrected. Finished.
That is the quiet link between Memorial Day and making. The holiday asks us to remember sacrifice. The Tomb shows us how remembrance itself can be built.
And then there are the Sentinels.
Since 1948, soldiers from the 3rd U.S. Infantry Regiment, known as The Old Guard, have stood watch over the Tomb. They guard it 24 hours a day, every day of the year. In heat. In cold. In storms. In silence.
Their work is not manufacturing. But it shares something with the best work found across the skilled trades.
Discipline.
Precision.
Repetition.
Pride.
The kind of pride that does not need attention to be real.
Every Memorial Day, Arlington National Cemetery is filled with American flags. Each one is placed with care. Each one marks a life. Each one reminds us that the freedom to enjoy a long weekend was paid for by people who did not get to come home and enjoy theirs.
That is the part we cannot let become background noise.
Now that Memorial Day has passed, the question becomes simple.
What do we carry forward?
Not the day off. Not the cookout. Not the extra time away from work.
The memory.
The weight.
The understanding that some sacrifices do not end when the holiday does.
Think about the names we know.
Think about the names we never got to know.
Think about the families who waited for answers that never came.
And think about the hands that built a place where a nation could carry that grief with honor.
Because remembrance is not passive.
Sometimes, it is made.
And sometimes, the real work begins after the holiday ends.