At FlexTrades, we believe in supporting American manufacturing from every angle — not just by providing workforce solutions, but by advocating for the skilled trades and the technical education that fuels them.

That’s why we’re kicking off this year’s Monthly Manufacturing Calendar Highlight with a reminder: CTE Month® begins February 1st.

This is your chance to celebrate, support, and elevate the future of the skilled trades. Let’s talk about what CTE Month is and how you can get involved.

What Is CTE Month?

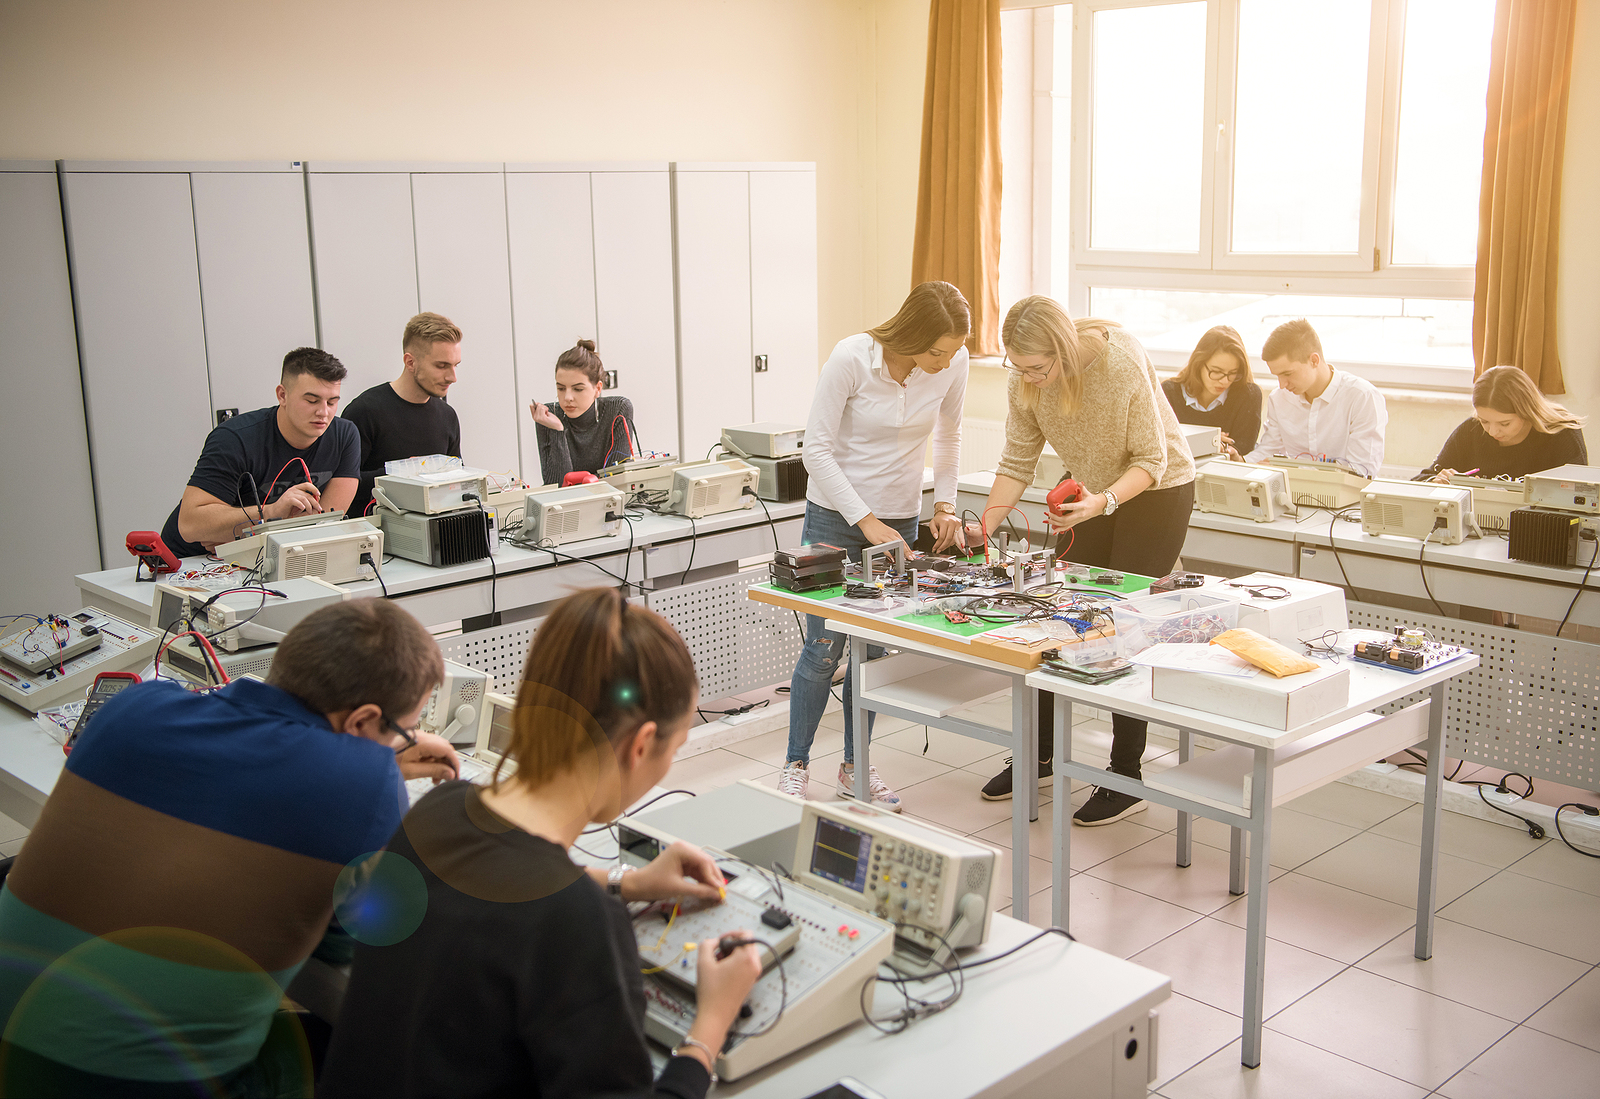
Career and Technical Education (CTE) helps students of all ages prepare for high-wage, high-demand careers. And we’re not just talking about students in high school — adult learners, returning workers, and veterans are part of the movement, too.

CTE Month happens every February as a nationwide campaign to:

  • Raise awareness about CTE’s role in workforce development
  • Celebrate CTE programs and their achievements
  • Encourage partnerships between educators, employers, and policymakers

You may have even seen it featured during events like the Super Bowl — like this commercial from Oklahoma Career Tech.

How Can You Celebrate CTE Month?

Whether you’re an educator, employer, or just someone who believes in the power of skilled trades, there are plenty of ways to get involved:

  • Instructors / Educators: Host a tour or open house. Let the community see what CTE looks like up close.
  • Businesses / Employers: Partner with local schools or host a job fair. Share success stories about CTE graduates on your team.
  • Graduates / Technicians: Speak up. Share your story publicly. The Skills Gap grows wider when people don’t understand the value of your experience.
  • Everyone Else: Download a CTE Month Zoom background and use it during virtual meetings to show your support — no speech required.
  • No matter your role, there’s a way to advocate for CTE this month. Sometimes, all it takes is showing up and being visible.

What’s Next?

February is just the start. Manufacturing advocacy doesn’t stop with CTE Month. In fact, October and MFG Day will be here before you know it.

So get involved. Be loud. Share your story. Support the people and programs building the future of American manufacturing.

And if you know of an industry event worth highlighting, email our Writing Team — we’d love to feature it in the months ahead. 

Manufacturing sits at the intersection of science, technology, engineering, and math. It’s where ideas become tangible and precision meets production. But behind the machinery and the measurements is a set of principles that most of us first encountered in a middle school science class.

So today, let’s talk about something that sounds simple but plays a massive role in manufacturing: static electricity.

What Is an Atom, and Why Does It Matter?

To understand static electricity, we have to go all the way down to the atomic level.

Everything you can touch, build, or break is made of atoms. These atoms are made up of particles — protons, electrons, and neutrons — centered around a nucleus. Here’s the shorthand:

  • Protons have a positive charge
  • Electrons have a negative charge
  • Neutrons are, as the name suggests, neutral

In most materials, the number of protons and electrons is equal, so the object carries no electrical charge. But rub two materials together — especially ones with different conductive properties — and you disrupt that balance. Electrons jump from one surface to another, leaving one object more negative and the other more positive.

That imbalance? That’s static electricity.

Want to dig deeper into atomic structure? Start here.

Conductors vs. Insulators

Not all materials behave the same. Some let electrons move freely. Others don’t.

  • Conductors (like water and metal) have loosely bound electrons, making them ideal for electron transfer
  • Insulators (like rubber and plastic) hold electrons tightly, limiting their movement

This difference is critical in understanding how static electricity forms — and how it affects real-world environments.

The Balloon & Hair Trick

It’s a classic. You rub a balloon on your head and your hair starts to rise. But why?

Rubber is an insulator, so it doesn’t let electrons move easily across its surface. Hair, on the other hand, acts more like a conductor. When you rub the balloon on your head, electrons from your hair transfer to the balloon. The balloon now has more electrons (and becomes negatively charged), while your hair has fewer electrons (becoming relatively positive).

That difference in charge is static electricity. And it’s strong enough to pull your hair toward the balloon.

Fun? Sure. But in a manufacturing setting, it’s a different story.

Static Electricity in Manufacturing

Static electricity can be dangerous in a production environment. It’s not just an annoying zap. It’s a legitimate safety and quality risk.

Electrostatic discharge (ESD) — that tiny shock you sometimes feel when touching a doorknob — can do real damage. In manufacturing, ESD can:

  • Ignite flammable gases or vapors
  • Destroy sensitive electronic components
  • Attract dust and particles in cleanrooms
  • Cause materials to stick together or misalign

That’s why manufacturers go to great lengths to manage it.

How Manufacturers Manage Static Electricity

To minimize the risks of ESD, many facilities use specialized tools and processes, including:

  • ESD-safe clothing to reduce charge buildup
  • Antistatic wrist straps and grounding bracelets to safely redirect charges
  • ESD mats to neutralize static underfoot
  • Zero-charge hand lotions and cleaners to reduce friction on skin
  • Controlled humidity to reduce airborne electron movement

In highly controlled environments — especially in electronics manufacturing — these precautions aren’t optional. They’re essential.

Want to Learn More?

FlexTrades has a growing library of How It’s Made content that explores the science behind the trades. Check out more on our blog and see what else goes into the work behind the work.

 If you’ve felt like the phrase “supply chain” is everywhere lately, you’re not wrong. It’s become part of our daily language — in business meetings, in news reports, in casual conversations. And for good reason.

The supply chain affects everything. What we buy. What we can’t find. What costs more than it used to. But where did it come from? And how did it become one of the most essential forces behind modern manufacturing?

Let’s take a step back.

What It Was

Before the first industrial revolution, supply chains were simple. Life was local. People relied on what was grown, built, or traded nearby. Long-distance transportation wasn’t yet a part of life, and production was limited by geography.

That changed quickly with the arrival of industry. Each industrial revolution brought new tools, new technologies, and a dramatic increase in production — which meant we needed better ways to move and manage all those goods.

Transportation was the turning point.

Where It Went

Without transportation, there is no modern supply chain. The railroad changed everything. But it was the internal combustion engine that transformed it.

In the late 19th century, diesel engines and the invention of the semi-truck gave businesses new ways to move product. Around the same time, new tools for handling goods — including hand trucks and early forklift concepts — started to take shape.

Shipping containers at a port

As goods began moving more freely across long distances, we needed places to store them. Warehouses evolved. Storage buildings expanded. Pallets made vertical storage more efficient. And the forklift? It became the workhorse of the warehouse.

Simple as it sounds, these were major innovations that made modern logistics possible.

What Took It Further

World War II marked a shift.

Military supply needs drove innovation. We weren’t just managing goods anymore — we were engineering full-scale systems to track, deliver, and replenish materials across the globe.

From the 1930s through the 1970s, some of the most important supply chain advancements emerged:

  • New pallet systems and storage innovations
  • The invention of the shipping container in the 1950s
  • A growing shift from rail to trucks in the 1960s
  • IBM’s creation of a computerized inventory system in 1967
  • Real-time warehouse management systems (WMS), barcodes, and scanners in the 1970s

Modern warehouse technology

By the 1980s and 1990s, supply chain systems became more connected, more digital, and more global. In 1983, the term Supply Chain Management was officially born.

Computers, spreadsheets, networked distribution models — all of it came together to shape the supply chain into something far bigger than anyone expected. Suddenly, the world was within reach.

What’s Next

Today, the global supply chain is a living, breathing system. Goods are sourced from everywhere. Operations are monitored in real time. And artificial intelligence is used to forecast demand, manage orders, and analyze performance with a level of speed and precision that would’ve seemed impossible just a few decades ago.

This is the Internet of Things (IoT) era — and supply chains are more interconnected than ever.

What comes next? More innovation. More complexity. And more opportunity to solve hard problems with smart systems.

And that’s exactly the kind of work we do every day at FlexTrades. 

PCBs are the beating heart of modern electronics. From your phone and your car to medical devices and defense systems, if it runs on electricity, it probably runs on a PCB.

The global printed circuit board market is projected to reach nearly $68.5 billion by 2025 with a 6.7% compound annual growth rate. That’s impressive growth, especially after the supply chain setbacks caused by COVID-19. So, how are these essential pieces of tech actually made?

Let’s walk through it.

What Are Printed Circuit Boards?

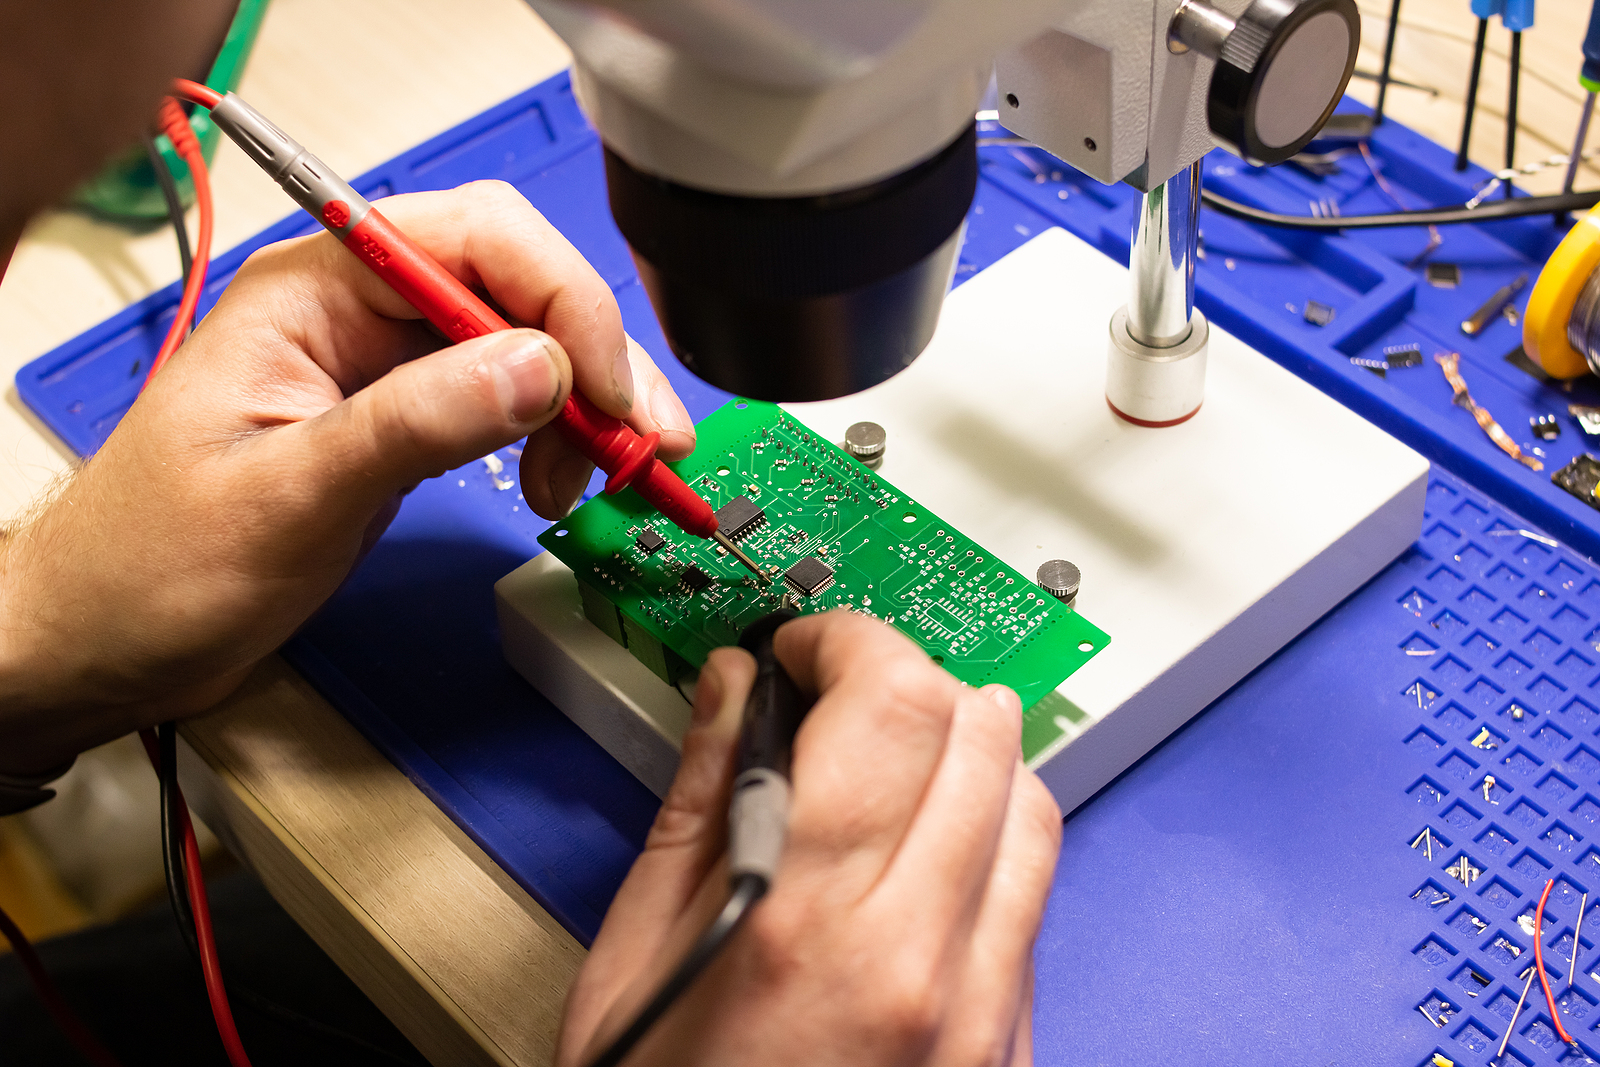
A Printed Circuit Board (PCB) is a board that connects and supports electronic components. But unlike older tech, PCBs do this without using traditional wires.

Instead, they rely on an organized system of pads, traces, capacitors, resistors, and more to move and regulate electrical current. It’s a clean, compact, and efficient way to bring electronics to life.

Before PCBs, electronics relied on point-to-point wiring. It worked, but it was bulky, unreliable, and prone to failure as insulation aged. The rise of cheaper, smaller electronics led directly to the widespread use of printed circuit boards.

Common PCB Components

  • Batteries – supply voltage to the circuit
  • Resistors – regulate electrical current
  • Capacitors – store electrical charge
  • Connectors – link devices together
  • Diodes – allow current to travel in only one direction
  • LEDs – diodes that emit light
  • Relays / Switches – control circuit flow
  • Transistors – amplify electric signals
  • Inductors – oppose sudden changes in current

PCB Terminology to Know

  • Pads – exposed metal areas where components are soldered
  • Paste Stencil – thin sheet that applies solder paste in exact spots
  • Surface Mount – components soldered directly onto the surface (today’s standard)
  • Through Hole – components with leads passed through drilled holes
  • Traces – copper paths that carry current
  • Solder – metal used to bond components and conduct electricity

Layers of a PCB

PCBs are made up of layers, each with a unique purpose. Together, they create a durable, functional platform for electronics.

  • Layer 1: Base Material – usually fiberglass, gives the board structure
  • Layer 2: Copper – laminated foil forms the conductive pathways
  • Layer 3: Solder Mask – protective green coating that insulates copper
  • Silkscreen – text and symbols printed for easier identification

Single-sided boards have one copper layer. Double-sided boards have two. Multi-layer boards can include many layers for more complex devices.

How PCBs Are Made

Here’s a high-level breakdown of the process:

  • Create the fiberglass base
  • Laminate copper layers
  • Etch away excess copper to leave traces
  • Apply the solder mask for insulation
  • Add silkscreen for labeling
  • You now have a blank board — time to populate it

How PCB Components Are Added

There are two main ways to populate a PCB:

Hand Soldering

SMT (Surface Mount Technology) Machine Operations

  • Boards move along a conveyor through multiple machines
  • Components are placed, soldered, inspected, and packaged
  • Ideal for large-scale production of less complex boards
  • See SMT machines at work here

Examples of PCBs

Blank Board – a clean, component-free circuit board, ready for population
Populated Board – a finished PCB with components mounted and soldered

For a visual of the full PCB manufacturing process, the team at FlexTrades recommends this industry resource and encourages you to dig deeper. 

At FlexTrades, we’re in the business of solving problems. That means we ask a lot of questions — and we answer a lot of them, too.

One of the most common questions we get from clients, technicians, and new recruits is about IPC standards. What are they? Why do they matter? And what do all those numbers and letters mean?

Let’s clear it up.

What Is IPC?

When most people say IPC, they’re referring to IPC International, Inc. But that wasn’t always the name.

Back in 1957, six printed circuit board manufacturers came together to form the Institute of Printed Circuits. Their mission? To set shared standards, push industry innovation, and eliminate the kinds of supply chain headaches still common today.

As the industry grew beyond PCBs, so did IPC. In 1999, the group expanded to include all of electronics manufacturing. That expansion came with a name change — The Institute for Interconnecting and Packaging Electronic Circuits. Eventually, that mouthful became IPC International, Inc.

Today, IPC is the organization responsible for setting the standards that govern electronics manufacturing. That includes the way PCBs are developed, tested, inspected, and assembled. And that’s where J-STD-001 and IPC-A-610 come in.

What Is J-STD-001?

You’ll often hear this called J-Standard for short. The official name is IPC J-STD-001H, and it’s a critical global standard in electronics manufacturing.

It outlines the process requirements for soldered electrical and electronic assemblies, including everything from the materials used to how assemblies are tested and inspected. The standard emphasizes process control — meaning it’s not just about the end product, but how you get there.

If you’re working in PCB assembly, soldering, or inspection, you’ll likely need J-STD-001 certification. It verifies that your processes meet industry expectations for quality and repeatability.

What Is IPC-A-610?

This one is often shortened to IPC-610, but the full name is IPC-A-610 Acceptability of Electronic Assemblies.

Where J-STD-001 focuses on how electronics are built, IPC-610 focuses on how they’re judged. It defines what an acceptable finished product looks like and qualifies people to perform that final inspection.

If you’re certified to IPC-A-610 standards, you’re trained to assess the quality and acceptability of PCBs based on IPC-defined criteria.

Together, IPC-610 and J-STD-001 create a comprehensive system: build to the standard, inspect to the standard, certify to the standard.

Want to Learn More?

There are dozens of additional IPC standards, far too many to cover here. But if you’re interested, you can explore the full list to learn more about each certification and what it covers.

Are You Certified in J-STD-001 or IPC-610?

FlexTrades is always looking for experienced technicians with IPC certifications. If you’ve got the credentials, join our Talent Network and get connected with projects that match your skills.

Got a Question We Haven’t Covered Yet?

We want to hear it. Send your questions to writingteam@flextrades.com and we just might answer it in a future blog post. 

Steel is everywhere. Look around.

Buildings. Bridges. Safety rails. Brackets. Cars. Trains. Sinks. Surgical tools. Jewelry. Even the scissors in your kitchen drawer.

It’s one of the most widely used materials on the planet, yet few people ever stop to ask the obvious question — where does steel actually come from?

Let’s walk through it.

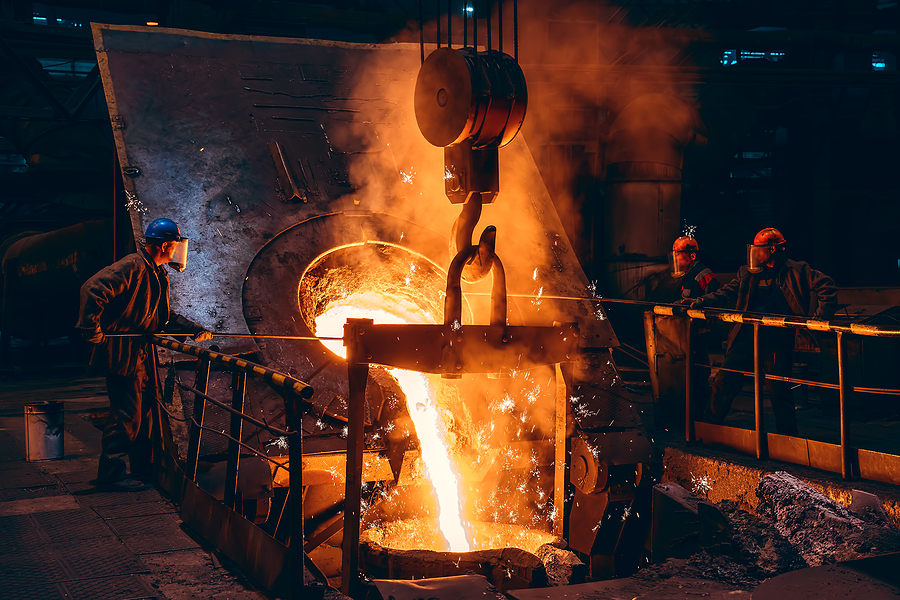
Step 1: Turn Raw Materials into Molten Metal

It starts with iron ore, mined from the ground.

But iron ore on its own isn’t enough. It needs to be reduced, and that’s where coke comes in. Coke is created by crushing coal, then carburizing it at high temperatures in a furnace without oxygen. What you get is a carbon-rich, rock-like material that looks like small black chunks.

Add the coke, the iron ore, and some limestone to a blast furnace. That’s where the transformation happens.

Superheated air is blown into the base of the furnace, igniting a combustion reaction. The result? Molten pig iron. (Fun fact: it takes about 1.5 tons of iron ore to make just 1 ton of steel.)

The limestone helps remove impurities like silicon dioxide — the stuff you’d find in sand and rock.

Technically, pig iron isn’t quite iron or steel. But it’s the bridge between the two.

Step 2: Convert Pig Iron to Steel

Once the pig iron is molten, it’s transferred by ladle to another furnace.

There, it’s combined with scrap steel in one of two systems:

  • Basic oxygen furnaces, which blast high-pressure oxygen into the metal to burn off impurities
  • Electric arc furnaces (EAFs), which melt scrap instead of ore — a more sustainable method, though it can yield lower-grade steel

By this point, the transformation is complete. Molten steel is born.

Step 3: Shape It with Continuous Casting

Ladles transfer the molten steel into tundishes, which feed into a continuous caster.

The caster shapes the metal as it cools, forming it into things like:

  • Ingots
  • Blooms
  • Billets
  • Slabs

These are all known as semi-finished products — not ready for use, but ready for what comes next.

Step 4: Roll It Out

Next, the steel passes through rolling mills, where it’s processed into usable forms:

  • Steel plates
  • Coils
  • Rods
  • Bars

If the steel is rolled while hot, it’s called hot rolled steel. If it’s done after cooling, you get cold rolled steel, which is stronger and has a smoother finish.

Step 5: Final Touches

The last step is finishing.

Depending on the end use, that might include:

  • Pickling
  • Coating
  • Tinning
  • Annealing
  • Tempering
  • Cutting
  • Slitting
  • Coiling
  • Packing

Each of these changes the performance or appearance of the steel before it heads off to do its job in the world.

Want to see how it all works? Check out this video and article from the American Iron and Steel Institute.

Bonus Resources

If this kind of thing sparks your interest, FlexTrades has a whole archive of How It’s Made content. It’s worth the scroll. 

Manufacturing has evolved through four industrial revolutions, and with each shift, machines have played a central role in shaping how things get made. Among them, the metal working mill has quietly remained a constant.

It doesn’t get as much historical attention as the lathe, but the mill has earned its place — not just in factories, but in the foundation of modern production itself.

Eli Whitney and the Birth of the Mill

The story of the mill begins in the late 1700s, when clockmakers used crude versions to cut balance wheels. But it wasn’t until 1818 that the United States could truly call the milling machine its own. That credit goes to Eli Whitney.

You probably know Whitney as the inventor of the cotton gin. What you might not know is what came next.

Facing the threat of war with France, the U.S. government began offering contracts for mass musket production. At the time, muskets were handmade, and that meant each one was slightly different. No interchangeable parts. No inventory system. No consistency. Whitney saw the flaw. And he saw the fix.

He began designing machine tools that could create musket components with identical size, shape, and function. These tools would allow parts to be mass-produced, stored, and swapped. That vision led to the milling machine — and, more importantly, to the production system we still rely on today.

In 1801, he presented this system to President-elect Thomas Jefferson. Jefferson was impressed. And with that vote of confidence, Whitney began manufacturing arms with his new technology, eventually passing the business to his son in Hamden, Connecticut.

Evolution Through the Revolutions

Milling machines didn’t stop evolving with Eli Whitney.

In 1867, American engineer Joseph R. Brown debuted a universal milling machine at the Paris Exhibition. It was a leap forward in precision and capability. Then in 1936, Rudolph Bannow improved the design even further. He believed mills should offer more movement and access — allowing tools to approach a part from multiple angles with less manual repositioning.

Bannow’s invention became the Bridgeport milling machine. It was revolutionary. And even now, many U.S. manufacturers still use Bridgeports in their shops.

But as game-changing as the Bridgeport was, it’s still manual. And with the rise of automation, software, and digital control systems, milling machines have taken another leap — this time into CNC.

But that’s a story for another day. 

Let me take you back to my childhood living room. Picture it with me: a couch, a loveseat, a floor model television, a console table, and a lamp or two. Pretty standard. But one thing stood out. Sitting on the console shelf was a kaleidoscope. I’m not sure where my mom found it (or why she bought it), but I loved that thing. I’d pick it up, hold it to my eye, and slowly turn the end, mesmerized by the changing patterns and bursts of color. Back then, I thought it was magic. Now I know better—but it’s no less fascinating.

Kaleidoscope Components

Kaleidoscopes are built from simple components that come together in a surprisingly scientific way. At one end of the tube is an eyepiece, at the other, an end cap. Inside are two or three mirrors placed at precise angles to form a V or triangle. Most kaleidoscopes include small, everyday objects inside—beads, ribbons, bits of glass, buttons, or glitter—housed in thin transparent cells made of glass or plastic. The magic? It’s all in the angles and light.

Kaleidoscope Science

Here’s how it works. Light enters the kaleidoscope and travels in a straight line. When it hits a surface, it reflects. That reflection is where the visual show begins. Mirrors bounce light back and forth, while the objects scatter and refract that light in different directions. The result is a continuous, evolving display of color, shape, and symmetry. Think of it as a mini laser light show controlled entirely by what’s inside the tube—and your imagination.

Kaleidoscope Fun

Because the objects inside the kaleidoscope move freely, you’ll never see the same image twice. That’s part of the magic. Every slow twist of the end cap reveals a new scene, never to be repeated. So the next time you find one, take your time. Look closely. Rotate slowly. And take in the simple wonder of it all.

Want more articles like this? Check out FlexTrades’ blog for other interesting insights on how everyday things are made. 

The history of manufacturing is an interesting one. While many people understand it through the lens of the four industrial revolutions, there is so much more to the story. One of the most enduring pieces of that story is the lathe—a machine tool that predates every industrial revolution and continues to evolve to this day.

The Ancient Origins of the Lathe

Archaeological digs show that lathes were in use as early as the 13th century BCE. Ancient Greek, Assyrian, and Egyptian woodworkers used early versions of the lathe, though it required two operators. One person would spin the piece of wood using a rope while the other shaped it with a cutting tool.

Even thousands of years ago, craftsmen were building the foundation of modern manufacturing.

Lathe Innovations in the Roman Era

The Romans and other early cultures in Northern Italy, China, and what is now Turkey made some key upgrades to the original lathe design. The biggest innovation? A foot pedal. When pressed, the pedal spun the workpiece, allowing a single operator to do the job.

Efficiency increased. Output grew. And so began a long journey of continuous improvement.

The First Industrial Revolution: Powered Turning

Fast forward to the early 19th century and the arrival of steam power. During the First Industrial Revolution, inventors found a way to attach steam engines and water wheels to lathes. This allowed the workpiece to spin much faster than before. With higher speeds came greater precision and the ability to produce more uniform parts.

The Second Industrial Revolution: Metal Takes the Stage

By the late 1800s, powered lathes featured electric motors and forged tooling. These upgrades allowed lathes to cut metal, not just wood. That development turned the lathe into one of the most versatile machine tools in history.

What was once a tool for craftsmen now became a cornerstone of industrial-scale production.

Industry 3.0 and 4.0: The Rise of the CNC Lathe

Every industrial revolution changed the lathe—and the third and fourth were no exception. As computers and automation became central to manufacturing, the lathe evolved once again into the CNC lathe.

CNC stands for computer numerically controlled. These machines are programmed to operate automatically with minimal intervention. They can execute precise cuts on complex parts at high speeds and with incredible consistency.

Want to dive deeper into how CNC machines work? Check out our article on CNC machinery here.

From Rope to Code

The story of the lathe is also the story of manufacturing. With each revolution came a new level of innovation. What started as a two-person wooden tool has become a computer-controlled system shaping the future of production. At FlexTrades, we believe in honoring that history while helping our technicians and clients stay prepared for what comes next. 

People say it takes a village to raise a child. We’ve all heard that phrase, but how often do we stop to consider what it really means? As we approach National Aunt and Uncle’s Day on July 26, I’d like to share my version of that village—because for me, it started with family.

This day may not come with parades or parties, and you won’t find much about it online. But if you’re looking for a way to honor the often-unsung heroes in your life, here’s a suggestion: tell their story.

Growing Up in a True Village

I was raised in an actual village—one with just a couple hundred people when I was a kid. Daycare didn’t exist back then. Fortunately, I had uncles who stepped up to help my grandma open one. Around their day jobs, they made sure she could care for me and dozens of other kids. That little act of sacrifice made a generational impact. To this day, I know over 50 adults who still call them “uncle.”

Aunts Who Shaped the Way I See the World

My maternal grandparents raised their niece as one of their own. Technically, she’s my cousin. But for nearly 40 years, she’s been “Aunt.” She introduced me to the joy of books, the challenge of Scrabble, and the beauty of a well-told nursery rhyme—ones I now sing to my own nieces. Another aunt walked me to the school bus every day and eventually bought me my first suit when I finally traded in high-vis shirts for a professional career. Without her, I doubt I’d be writing this article today.

The Uncles Who Taught Me to Build—and Be

One uncle taught me construction. Another shaped my understanding of agriculture. A third showed me the intersection between hard work and creative design. They weren’t always gentle, but they were always kind. They’ve remained my closest confidants and most trusted mentors.

Passing It On

Because of them, I know how to weld, run a lathe, frame a house, and even braid my daughters’ hair. I learned grit and grace in equal measure. And that came in handy, because 12 years ago, I became an uncle to a little girl born into a situation that needed more than just holiday visits and birthday cards. Two years later, her sister arrived.

Life didn’t exactly prepare me to raise girls, but thanks to the village that raised me, I knew how to raise people. My aunts and uncles taught me that. I just hope the lessons I’m passing down serve my girls as well as they served me.

So today, if you’re lucky enough to still have your aunts and uncles around, reach out. Tell them what stuck. Thank them for what mattered. Share their story. Because sometimes, the best way to celebrate someone… is simply to remember them well.