Welcome to another installment of How It’s Made with FlexTrades, where we break down complex manufacturing processes in clear, digestible ways. In this edition, we’re answering a timely and important question:

How are vaccines made?

Let’s start with the basics.

What Is a Vaccine and How Does It Work?

At its core, a vaccine contains a version of the virus or bacteria it’s designed to protect against. This might sound counterintuitive, but it’s all about training your immune system to respond.

Here’s how:

  • Inactivated or killed vaccines: These vaccines contain a virus that has been fully inactivated (killed), such as in the polio or rabies vaccines.
  • Live attenuated vaccines: These contain a weakened version of the virus that’s strong enough to stimulate the immune system but not strong enough to make you sick. Examples include chickenpox, measles, and hepatitis B.

In both types, the goal is the same: introduce an antigen that prompts your immune system to produce antibodies—specialized proteins designed to recognize and neutralize threats. That way, if you’re ever exposed to the real virus, your body already knows how to fight it.

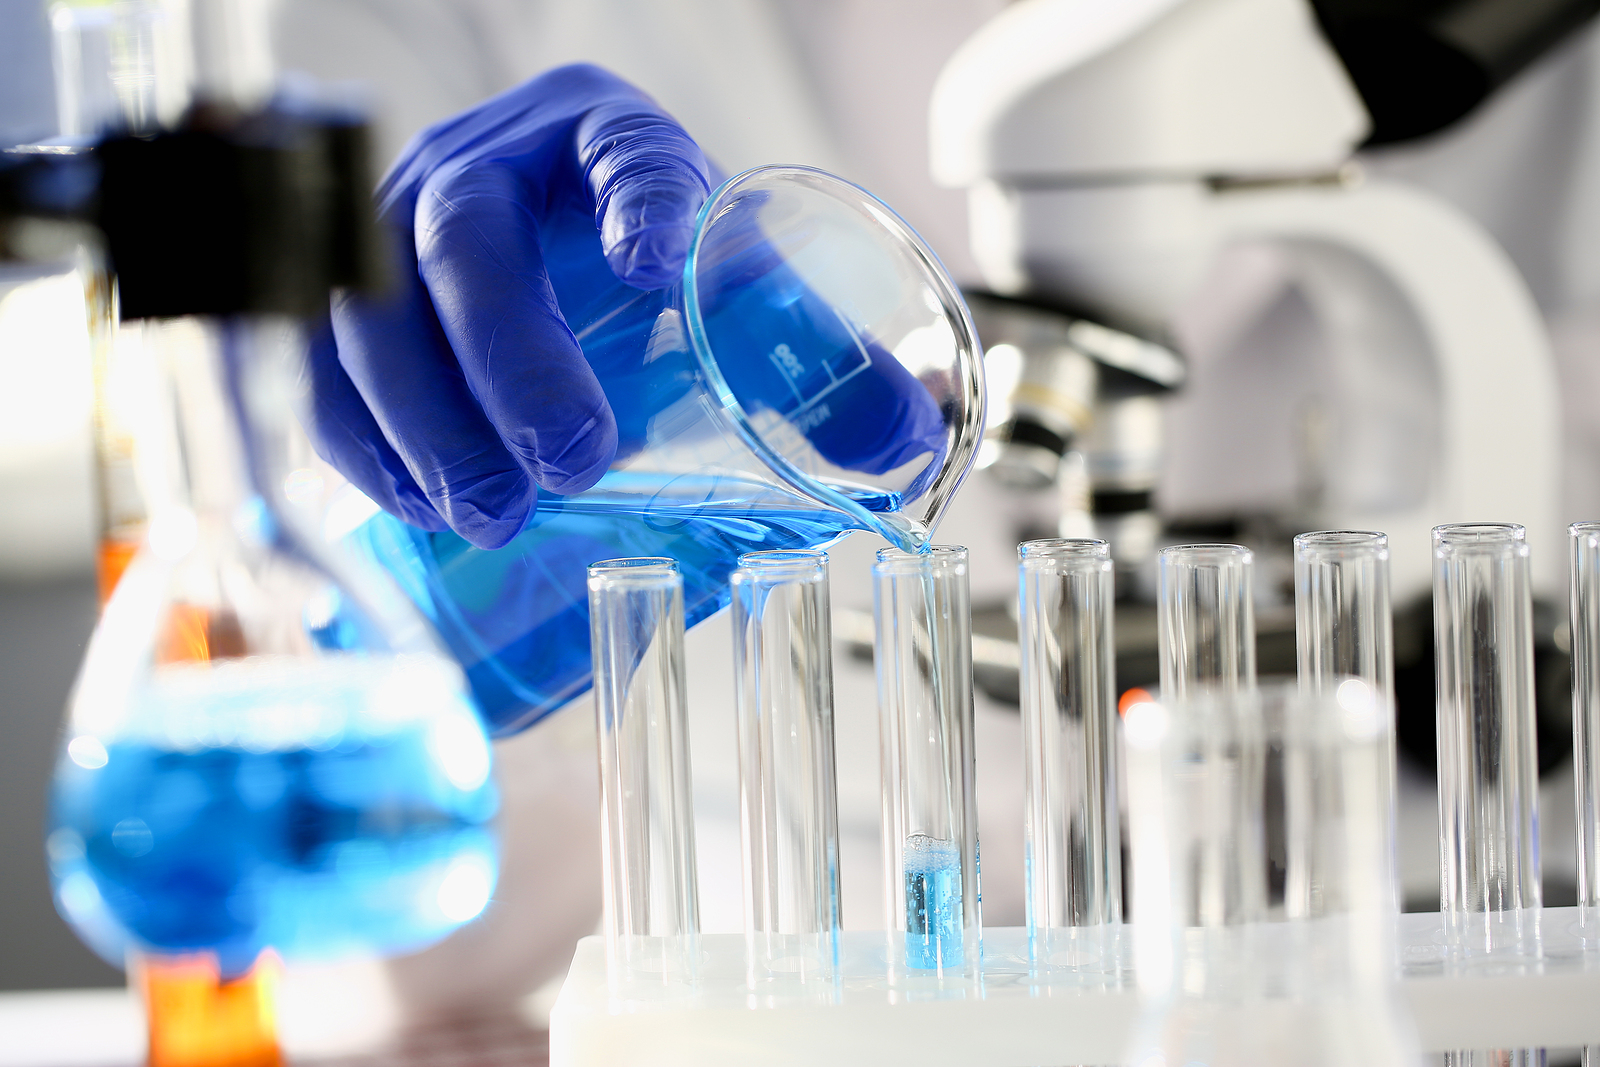
Step-by-Step: How Are Vaccines Made?

Making a vaccine is a highly controlled, multi-phase process that starts with science and ends with life-saving solutions in a syringe.

Step 1: Grow the Virus or Bacteria

Vaccines begin in the lab where scientists grow large quantities of the virus or bacteria.

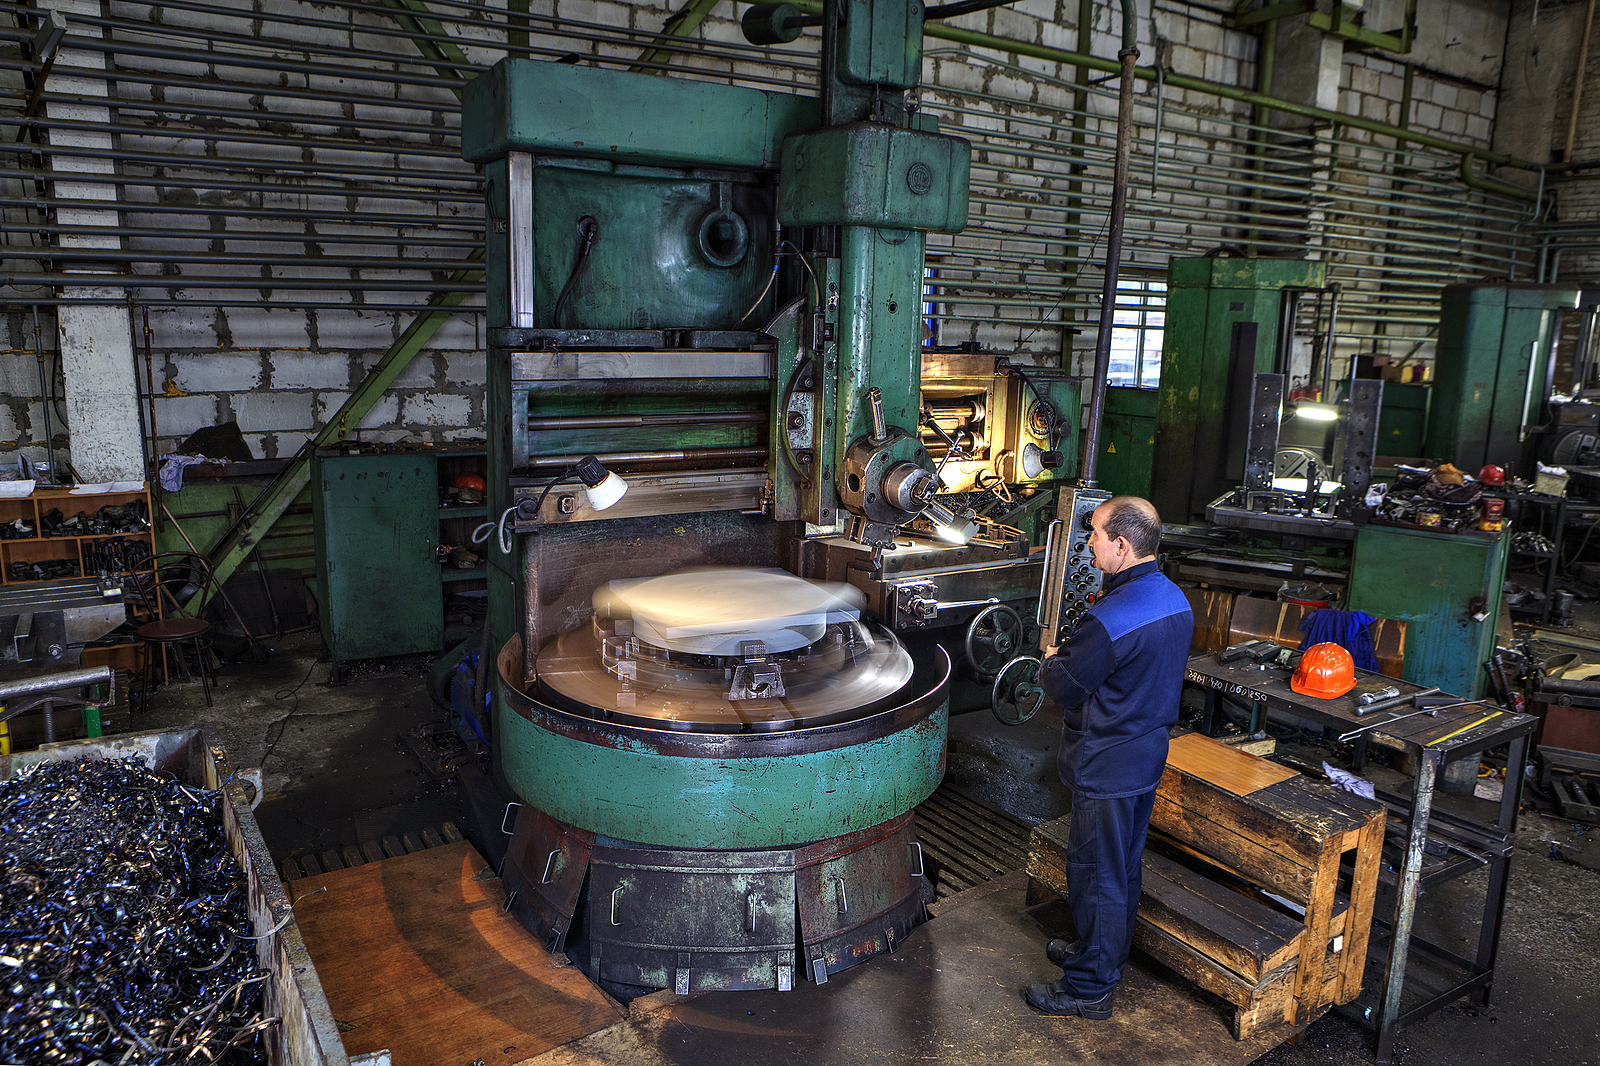
  • Viruses are typically grown in cell cultures (often derived from chicken embryos).
  • Bacteria are grown in bioreactors, large tanks filled with nutrient-rich growth mediums like amino acids, carbohydrates, minerals, and proteins.

The goal in this stage is replication—producing enough of the virus or bacteria to create a strong immune response.

Step 2: Harvest and Isolate the Antigen

Once replication is complete, the next step is to extract the antigen (the part that triggers the immune system).

  • Scientists release the antigen from the cell or growth medium.
  • Then, they purify it using methods like chromatography or ultra-filtration to remove impurities and isolate only what’s needed.

Step 3: Formulate the Vaccine

Next, the purified antigen is mixed with additional ingredients to form the vaccine:

  • Adjuvants: Help boost the immune response.
  • Stabilizers: Maintain shelf life and preserve potency.
  • Preservatives: Allow multi-dose use and prevent contamination.

All of these components are blended in large vessels under strict quality control.

Step 4: Fill and Finish

Once the formula is ready:

  • The vaccine is dispensed into vials or prefilled syringes.
  • Each is sealed with sterile closures, labeled, and sometimes freeze-dried for long-term storage.

This is the version you eventually see at clinics, pharmacies, and hospitals.

More Than Manufacturing: The Bigger Picture

While the physical creation of a vaccine is highly technical, it’s only one part of a long process. From initial discovery to regulatory approval, vaccine development can take 15 to 20 years and includes:

  • Laboratory research
  • Pre-clinical studies
  • Multiple phases of clinical trials
  • Rigorous reviews by agencies like the FDA

Want to dive deeper into that process? Here’s a breakdown of the testing and regulation steps required before a vaccine ever hits the market. 

At FlexTrades, we deliver workforce solutions to American manufacturers. That means solving complex problems, answering tough questions, and helping our clients and technicians understand the tools of the trade. One question that comes up more often than you’d think:

What’s the difference between a VTL and a VBM?

Let’s break it down.

VTL vs. VBM: A Simple Answer to a Confusing Question

Both Vertical Turret Lathes (VTLs) and Vertical Boring Mills (VBMs) are large-scale machining tools used to shape metal, typically for aerospace, energy, and industrial components. And yes, they’re very similar. In fact, so similar that they’re often confused for one another.

Here’s the key difference:

A VTL is essentially a VBM… but with a turret.

That turret adds a layer of versatility and automation that the traditional VBM doesn’t offer.

Why the Confusion?

VBMs have been around longer, but they don’t get talked about as much these days. The term “VTL” is more widely used in modern machine shops, even when the equipment is technically a VBM. And since many VBMs can perform basic turning operations, the lines between the two blur even further.

So while both machines operate on a vertical axis and use similar base designs, it’s the tool turret that sets a VTL apart.

What the Turret Brings to the Table

A VTL’s turret offers key performance advantages:

  • Threading Capabilities: Built-in turret tools can perform internal and external threading without manual changeover.
  • Shorter Setup Times: With tools preloaded in the turret, there’s less downtime between steps.
  • Fewer Tool Changes: Less manual intervention means faster cycle times and more consistent results.

These benefits all add up to one thing—efficiency. More productivity, less downtime, and better ROI for shops running high-volume or complex parts.

Which One Should You Use?

It depends on the job.

  • If you’re machining large, simple parts with minimal tool changes, a VBM may be all you need.
  • If your projects involve complex profiles, threading, or frequent tool changes, a VTL will likely deliver better performance.

The right machine is the one that fits the part, the budget, and the timeline. And the right technician? That’s where FlexTrades comes in.

Looking for Talent or Opportunities?

Whether you’re a manufacturer needing skilled machinists or a technician ready to work on high-end equipment like VTLs and VBMs, FlexTrades can help.

There’s an old debate that always seems to resurface at summer cookouts: what actually makes a sandwich… a sandwich?

According to Merriam-Webster, a sandwich is either:

  • Two or more slices of bread or a split roll having a filling in between
  • One slice of bread covered with food

So here’s the question—does that mean a hot dog is a sandwich? What about a hamburger?

If you ask around, you’ll get more opinions than answers. Some say the type of bread determines it. Others argue it’s all about the filling. And once you introduce plant-based alternatives into the mix, things get even more complicated. Does using a Beyond Meat patty change the status of your sandwich?

Regardless of your stance, summer is in full swing here at FlexTrades HQ, and that means one thing—grill season. Burgers, brats, veggies, even balsamic honey peaches with feta (highly recommended). But lately, we’ve been wondering… how are plant-based burgers actually made?

That brings us to this edition of How It’s Made.

What Goes Into a Plant-Based Burger?

Plant-based meats have come a long way. Products like the Impossible Burger or the Beyond Burger are engineered to look, cook, and even taste like the real thing. But how is that possible?

It all starts with a combination of science, innovation, and some very specific ingredients.

Ingredient 1: Heme

Heme is the magic behind the flavor in animal-based meats. It’s what gives beef that rich, slightly metallic taste when cooked. In animals, heme is found in muscle tissue (myoglobin). In plants, it comes from the roots of legumes like soybeans, where it’s called leghemoglobin.

But growing soybeans just to harvest leghemoglobin is expensive and resource-intensive. So instead, food scientists figured out how to engineer plant-based heme using yeast fermentation. Add yeast, sugar, and minerals. Let it grow. Extract the heme. This engineered version delivers the flavor punch that makes these burgers taste like beef.

Ingredient 2: Compounds

Flavor is more than just taste—it’s smell. And recreating the aroma of beef requires duplicating its unique mix of compounds.

Scientists used a process called Gas Chromatography Mass Spectrometry to break down the compounds found in real beef. Once identified, those compounds can be replicated in the lab and added to plant-based patties to mimic the scent and taste of the real thing.

Ingredient 3: Plant Proteins

Texture matters. That bite and chew of a real burger? It comes from protein.

Using protein analysis, scientists identified the structural characteristics of beef proteins and matched them to plant-based equivalents. Wheat and potato proteins give the firmness and moisture retention needed to create the familiar texture of ground meat.

Ingredient 4: Fat

Coconut oil, stripped of its natural flavor, is used to add richness and juiciness to plant-based burgers. It mimics the melt and mouthfeel of animal fat, especially when cooked.

How Are Plant-Based Burgers Manufactured?

Once the core ingredients are assembled, they go through a precise manufacturing process involving thermal and mechanical stress. Rapid heating and cooling help blend and reshape the proteins and fats. The final product is extruded into burger patties and packaged for distribution.

This is not backyard science. It’s high-tech food production driven by chemistry, precision equipment, and deep knowledge of how people experience taste and texture.

So… Is a Hamburger a Sandwich?

That brings us back to our original question. Is a hamburger a sandwich? What about a plant-based hamburger?

If it walks like a sandwich and grills like a sandwich… you decide.

One thing’s for sure—whether it’s beef or Beyond, grilled patties between buns are part of the American summer tradition. And we’re here for it. 

FlexTrades provides workforce solutions to American manufacturers. That’s what we do. But we take the word “solutions” seriously. That means asking the right questions and listening closely to the answers. Along the way, we also get asked a lot of questions ourselves—especially when it comes to skilled trades advocacy. One of the most common?

How do you advocate for technical education and careers in the skilled trades?

Let’s talk about that.

Why Advocacy Matters

At FlexTrades, we believe that everyone in manufacturing—not just companies, but individuals—has a responsibility to advocate for careers in the skilled trades and technical education. These industries are foundational to the American economy, yet they continue to face workforce shortages, declining enrollment in trade programs, and a cultural bias that still favors four-year degrees over hands-on careers.

That’s why advocacy matters. But what does advocacy actually look like in practice? And how can you do it as one person?

Let’s break it down.

Do Your Homework

Advocacy starts with understanding. If you want to speak up for the trades, you need to know the issues. Go beyond surface-level statistics and headlines. Ask tough questions. What’s really driving the skills gap? What policies and perceptions are holding technical education back? What are the long-term implications for manufacturing if the talent pipeline continues to shrink?

When you dig deep, your voice carries more weight. Informed advocates don’t just raise awareness—they influence change.

Think Big

When you advocate, you’re not just speaking for yourself or your company. You’re representing an entire industry. That means thinking beyond your own experience and considering the broader ecosystem—students, workers, educators, employers, and policymakers.

Understand the challenges and the innovations. Get clear on the wins, the gaps, and the opportunities. Then focus on solutions that benefit everyone. Advocacy is about inclusion and momentum. The more people you bring with you, the more impact you’ll have.

Build Partnerships

No one advocates in a vacuum. Look for others in the industry who are pushing in similar directions—even if their mission isn’t identical to yours. Shared values and overlapping goals make for strong partnerships.

Whether it’s a local trade school administrator, an apprenticeship program coordinator, or a manufacturing executive who sees the same workforce problems you do, build the bridge. Work together. Share resources. Amplify each other’s efforts. That’s how real movements gain traction.

Plan for Resistance

Advocacy isn’t easy. It’s not supposed to be.

You’ll face resistance. From outdated systems. From people who prefer the status quo. From stakeholders who don’t want to disrupt what’s already working for them. But if what’s “working” isn’t solving the larger problem, it’s your job to say so.

Be willing to challenge old assumptions. Be brave enough to stand alone when necessary. True advocacy creates space for new ideas, better systems, and lasting progress—even if it makes a few people uncomfortable along the way.

Tools and Resources to Help You Get Started

If you want to dig deeper, here are a few great places to start:

Got Questions? Let’s Talk.

Have your own question about manufacturing, labor shortages, or technical training? We’d love to hear from you. Reach out to us anytime at writingteam@flextrades.com, and we might feature your question in a future article.

Welcome to the first edition of FlexTrades’ “How It’s Made”—where we break down the manufacturing process behind everyday products. Today, we’re rolling out an inside look at how toilet paper is made.

With demand always high, it’s easy to forget that toilet paper hasn’t always been a household staple. If you’re curious about its origins, check out the history of toilet paper—but today, we’re here to focus on how it’s made.

How Is Toilet Paper Made?

Toilet paper is, at its core, just paper—which means its journey starts in the forest, moves to a lumber mill, is processed at a paper mill, and finally, is turned into the final product at a manufacturing facility.

Step 1: Harvesting Wood from Forests

Toilet paper is typically made from a blend of hardwoods and softwoods—about 70% hardwood and 30% softwood. Hardwoods provide softness, while softwoods add strength to the final product. Once trees are harvested, they are shipped to the lumber mill.

Sustainability Note: New trees are planted after harvesting to maintain forest resources.

Step 2: Processing at the Lumber Mill

At the lumber mill, trees go through two key processes:

  • Debarking – The outer bark is removed while preserving as much usable wood as possible.
  • Chipping – Logs are cut into small, uniformly sized wood chips (typically 1” x ¼”).

These wood chips are then sent to the paper mill for further processing.

Step 3: Pulping & Sheet Formation at the Paper Mill

At the paper mill, wood chips are turned into pulp through a multi-step process:

  1. Cooking – The chips are “cooked” with chemicals to remove moisture and break them down into pulp.
  2. Processing – The pulp undergoes washing, bleaching, and additional chemical treatments.
  3. Stock Preparation – Water is added to create a paper stock, which is then passed through a series of rollers, dryers, and heaters to reduce moisture.
  4. Sheet Formation – The result is large, matted fiber sheets, which are wound onto jumbo reels (some weighing up to five tons). These reels are sent to manufacturing facilities for final processing.

Step 4: Manufacturing & Packaging

At the manufacturing facility, jumbo reels of paper sheets go through the following steps:

  • Unwinding & Slitting – Large sheets are unwound, cut to size, and rewound onto cardboard tubes.
  • Roll Sizing – These large rolls are then cut down to the standard 4.5” x 4.5” toilet paper roll size.
  • Stacking & Packaging – Finished rolls are stacked, wrapped, and packaged for distribution.

And just like that, the toilet paper rolls you see in stores—or sometimes don’t see—are ready for use.

Want to See It in Action?

Check out this video from Georgia-Pacific, the manufacturer behind Angel Soft and Quilted Northern.

Final Thoughts

Toilet paper is a simple yet essential product, requiring precision, efficiency, and large-scale production to meet demand. And while most of us only think about it when the shelves are empty, the process behind it is a fascinating look at modern manufacturing and supply chain logistics.

Stay tuned for more editions of “How It’s Made” from FlexTrades, where we break down the process behind the products you use every day. 

Spring brings warmer weather, melting snow, and… slippery roads. As ice and frost linger on highways and sidewalks, salt trucks hit the streets to keep drivers safe. But have you ever wondered where all that road salt comes from—and what impact it has?

Where Does Road Salt Come From?

The main ingredient in road salt is sodium chloride, the same compound found in table salt. Mines in Ohio, Michigan, New York, Kansas, and Louisiana produce nearly 90% of the salt used on U.S. roads. It’s the most effective and widely used deicing method, but it comes with some serious downsides.

The Environmental & Vehicle Impact of Road Salt

As winter fades and spring arrives, road salt doesn’t just disappear. It runs off into streams, lakes, and rivers, disrupting plant and animal life. Too much salt in these ecosystems can damage habitats and even cause long-term environmental harm.

Salt also accelerates vehicle corrosion. If not washed off regularly, it can eat away at metal components, leading to expensive repairs.

Sand: A Safer, Cheaper Alternative?

Because of these concerns, many states supplement or replace salt with sand. Unlike salt, sand doesn’t melt ice, but it improves traction and helps vehicles maintain control on slick surfaces. It’s also about 75% cheaper and less harmful to the environment.

Stay Safe on the Road

No matter what deicing method is used, icy roads remain a seasonal hazard. Keep an eye out for salt and sand trucks, drive cautiously, and be aware of changing conditions.

Want to learn which states use the most salt and sand? Check out these resources:

🔗 State-by-State Salt & Sand Usage
🔗 Salt Belt & Vehicle Corrosion Risks 

Women Who Have Shaped and Continue to Shape Manufacturing

March is Women’s History Month, a time to recognize and celebrate the contributions of women across industries—including manufacturing. Women have been integral to the evolution of this field, from the Industrial Revolution to the modern era of Industry 4.0.

At FlexTrades, we believe in honoring the trailblazers who paved the way while also recognizing the women shaping the future of manufacturing today. Here are three historical figures who left a lasting impact on the industry—plus one woman actively working to empower and unite women in manufacturing today.

Rosie the Riveter: The Icon of Women in Manufacturing

Few symbols are as powerful as Rosie the Riveter. During World War II, the U.S. government launched a campaign to encourage women to take on factory jobs while men were at war. Rosie became the face of that movement.

But over time, Rosie came to represent far more than wartime labor. She became a symbol of empowerment, resilience, and the role of women in manufacturing, proving that women could not only step into traditionally male-dominated roles but also excel in them.

Stephanie Kwolek: The Accidental Innovator Who Revolutionized Safety

Unlike Rosie, Stephanie Kwolek wasn’t a household name—but her impact on manufacturing and safety is undeniable.

Originally aspiring to be a doctor, she took a temporary job at DuPont to save money for medical school. That temporary job turned into a 40-year career, during which she discovered Kevlar—one of the most durable and widely used industrial fibers in the world.

Kevlar is used in boats, airplanes, parachute lines, and ropes, but its most famous application is bulletproof vests, which have saved countless lives.

Fun Fact: Stephanie discovered Kevlar while researching a lighter, stronger alternative to steel for use in tires. What she created was five times stronger than steel, heat-resistant, and more flexible than fiberglass.

Ella May Wiggins: The Voice of Women in the Workforce

During the Industrial Revolution, women made up 75% of the textile mill workforce. Among them was Ella May Wiggins, a single mother of five working as a spinner in a textile mill.

But Ella May was more than just a worker—she was a fierce advocate for labor rights. She fought for fair wages, better working conditions, and support for working mothers. She participated in one of the most famous textile mill strikes and even wrote protest ballads condemning the industry’s mistreatment of workers.

Her song “Mill Mother’s Lament” remains a powerful testament to the struggles of early female workers in manufacturing.

Allison Grealis: Leading the Future of Women in Manufacturing

While Rosie, Stephanie, and Ella May paved the way, Allison Grealis is actively shaping the future.

As the Founder and President of Women in Manufacturing (WiM), she leads a nationwide trade association dedicated to supporting, promoting, and advancing women in the industry.

What started as a small networking group within the Precision Metalforming Association has grown into a powerful independent organization, providing resources, mentorship, and opportunities for women in manufacturing.

Women Will Shape the Future of Manufacturing

These four women represent just a fraction of the contributions women have made to manufacturing. Today, as the industry evolves with #Industry40 and works to bridge #TheSkillsGap, the role of women is more critical than ever.

At FlexTrades, we celebrate the past, present, and future of women in manufacturing. As opportunities continue to expand, the next generation of leaders, innovators, and trailblazers is just getting started.

Want to learn more about careers in manufacturing? Explore opportunities with FlexTrades today.

Across America, companies are increasingly moving to longer shift schedules. In the manufacturing sector, 12-hour shifts have been common for decades. At FlexTrades, our skilled tradespeople know firsthand what it takes to handle these demanding schedules successfully.

If you are wondering how to power through a workday that accounts for half of the total hours available, here are some tried and true strategies to help you not just survive—but thrive—during a 12-hour shift.

Professional Mindset

Start with the Right Mentality

A 12-hour shift is 50% longer than an 8-hour one. If you begin your shift with the wrong mindset, the day will drag and become more exhausting.

“The long hours can wear on you mentally… so you need to show up wanting to be there and focused on safety, of course.”
Dan O., Welder

Always Look for Opportunities to Teach or Learn

There is often downtime in production. How you use that time makes all the difference. Helping others or improving your knowledge keeps the shift moving.

“Twelve-hour shifts are much shorter if you’re busy, so help others with their work or just clean up.”
Jeff C., Maintenance

Remember Why You Are Working

Long shifts often come with larger paychecks. Keeping your goals in mind can make the effort feel more worthwhile.

“An old road dog told me not to ever forget what you’re doing this for… money.”
Jeff C., Maintenance

Physical Preparation

Dress for the Environment

Your job duties matter, but so does your work environment. The right clothing can be the difference between a manageable shift and a miserable one.

“It doesn’t matter if you’re ready for the job. If you’re not ready for the weather, the wrong clothing can ruin a job.”
Jason H., Operations Manager

Prioritize Sleep

You would not expect your tools to work on a dead battery. The same logic applies to your body. Sleep is non-negotiable.

“The people that struggle the least with long hours are the ones that get enough sleep the night before.”
Kim M., Technical Manager

Fuel Your Body Properly

Think of your body like a machine—it needs proper fuel to perform. Staying hydrated and eating well will keep you going strong.

“You have to make sure your body is ready for it with plenty of nutrition and hydration.”
Dan O., Welder

Mental Stamina

Keep Your Mind Engaged

Production work can become repetitive, and facilities are not always the most stimulating environments. A small change in perspective can make a big difference.

“Adjust your vision periodically, meaning don’t stare at the same thing constantly. It’s a small thing, but it can go a long way.”
Jason H., Operations Manager

Break It into Smaller Goals

A long shift or a large production run can feel overwhelming. The best strategy? Tackle it in smaller, more manageable chunks.

“I like to set short, incremental goals. Cutting a cycle time for a part down from eight minutes to seven can result in substantial savings on a 1,000-piece run, and it makes the day go faster working in shorter time frames.”
Dan C., Machinist

Prioritize Wisely

A long to-do list can be paralyzing if you do not know where to start. Successful tradespeople learn to prioritize efficiently.

“Our best techs all have a lot they could do. They learn how to recognize what needs to be done compared to what they’d like done and then set their work accordingly.”
Kim M., Technical Manager

Final Thoughts

The next time you have a long shift or unexpected overtime, do not dread it. Approach it with intention, preparation, and the right strategies. These tips from experienced tradespeople can help you stay productive, stay safe, and make the most of your shift.

If you have already mastered the art of the 12-hour workday, maybe it is time for the next step in your career. Check out FlexTrades to explore opportunities in manufacturing, engineering, and skilled trades.

It’s no secret that manufacturing has an image problem that is preventing younger generations from not only pursuing, but even considering a career in manufacturing. At times, it can be an uphill battle to get the current generation to see the opportunities available to them. With Father’s Day right around the corner, I thought now would be a perfect time to address some of these myths and misconceptions and shine some light on manufacturing truths.

Watch our webinar Myths & Misconceptions in Manufacturing to learn more!

Jobs in Manufacturing are unsafe

Safety ratings for careers in this industry improved throughout the last century and that focus and improvement will continue throughout the next for several reasons:

  • Unsafe factories are unprofitable factories and profit drives improvement.
  • OSHA, MSHA, and other regulatory bodies. There is a greater focus, and enforcement, placed on safety in the workplace than ever before and it shows.
  • Robots aren’t going to take your jobs but they are already taking the dangerous ones.

Jobs in Manufacturing are dirty

Dirty Jobs is a TV show, not the reality of American production facilities.

  • The focus on safety from within the industry and governmental bodies naturally leads to a cleaner workplace. Clean factories are safe factories.
  • Modern production methods and materials often require clean room type environments by necessity.
  • The realities of modern hiring often require a clean environment to show. Everyone has to keep up with the Jones in the fight for new talent – even manufacturers.

Jobs in Manufacturing are low-skill, low-paying, and boring

Hello, have you heard of the Skills Gap? Its very existence refutes the unskilled point.

  • High skill equals high pay. This sector is seeing growth in demand AND wages and we have the skills gap to thank for that.
  • There is no industry where you are more likely to receive on the job training or continuing education opportunities from your employer than this one. Workforce reinvestment is a continuous driver of both wage and skill growth.
  • Remember robots? Their presence in the industry may be making our jobs safer and physically easier, but they are doing that primarily by replacing the LOW skilled jobs. This means, the positions requiring higher skill sets make up a disproportionately higher percentage of all sector jobs than they did in previous generations where automation was less prevalent.

Jobs in Manufacturing are unfriendly to female and minority employees

To put it plainly, manufacturing is still an industry dominated in America by white males, but that is changing.

  • 29 percent of women in 2017 (compared to 12 percent in 2015) think the school system actively/somewhat encourages female students to pursue a career in the manufacturing industry.
  • 42 percent of women in 2017 (compared to 24 percent in 2015) are now ready to encourage their daughter or female family member to pursue a career in their industry.
  • More than half of women (58 percent) have observed some positive changes in their industry’s attitude towards female professional employees, over the last five years.
  • Minority representation in the workforce has doubled since 1980 (from 18% to almost 40%) and Hispanic/Latino representation specifically has nearly tripled during that same time period.

Robots are going to take all the jobs

Robots will not take away all positions in manufacturing, but the ever-increasing prevalence of automation, IoT, predictive analytics, additive manufacturing, virtual/augmented/mixed reality, will change them consistently and continuously throughout your career by making those jobs

  • Safer
  • More Productive
  • More Interesting
  • Higher Paying

To learn more about the impact technology will have on manufacturing, check out our webinar Manufacturing in the future: the changes yet to come.  

Soft skills matter. In fact, in today’s professional landscape—especially in technical trades—they’re more critical than ever.

Yet, one common challenge remains: many new professionals enter the workforce without strong soft skills, particularly in time management, networking, and industry awareness.

So, how can you change that? How can we change that?

The answer is simple—take on the 30-Day LinkedIn Challenge.

The Challenge

It only takes 10 minutes a day, and it checks three key boxes for career growth. Here’s how:

Step 1: Arrive 10 Minutes Early

Get to your destination 10 minutes before you need to. Every. Single. Day.

Step 2: Add Three New LinkedIn Connections

Use those 10 minutes to build your professional network:

  • One person you know personally
  • One person in your industry or the field you want to enter
  • One person from a completely different industry

For example: If you’re a welding student, connect with your instructor, a local Miller welding rep, and—why not—someone like Warren Buffett.

This step takes less than three minutes but expands your network exponentially.

Step 3: Learn Something New

Use the remaining time to scroll your LinkedIn feed and absorb one piece of information relevant to your career.

That’s it. Simple, right? But the impact? Huge.

Why This Matters

The 30-Day LinkedIn Challenge tackles three key workplace gaps:

  1. Time Management & Punctuality – Being early sets you apart. It builds discipline. It shows initiative.
  2. Industry Awareness – Many new professionals enter the workforce with technical skills but little understanding of the broader industry.
  3. Professional Support Networks – Success isn’t just about what you know—it’s about who you know.

The Impact

By committing to this challenge, you will:

  • Learn how to maximize small moments for growth
  • Take ownership of your personal development
  • Shift from just being a skilled tradesperson to becoming a student of your craft
  • Develop the same networking advantages that professionals in other industries rely on daily
  • Strengthen a continuous improvement mindset

Ready to Start?

If you’re serious about improving your professional outlook—whether in manufacturing, engineering, or any skilled trade—start with the 30-Day LinkedIn Challenge today.

Begin with these three connections:

After 30 days, if you think this challenge was a waste of time, let us know. But we bet you’ll see the difference.